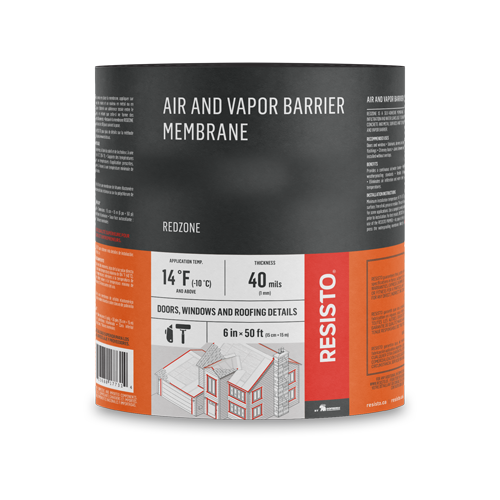
Roof Details and Waterproofing
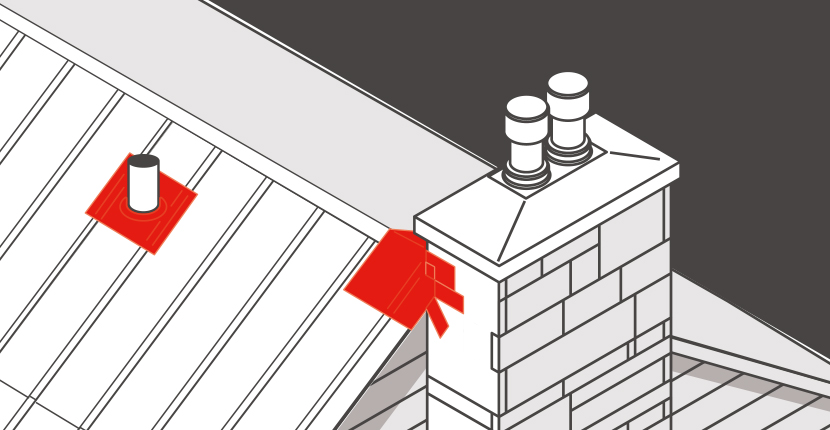
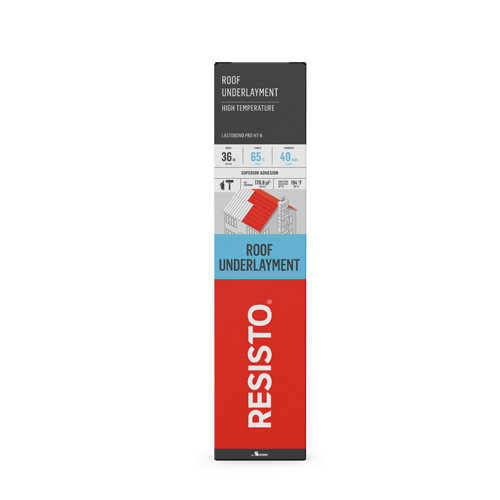
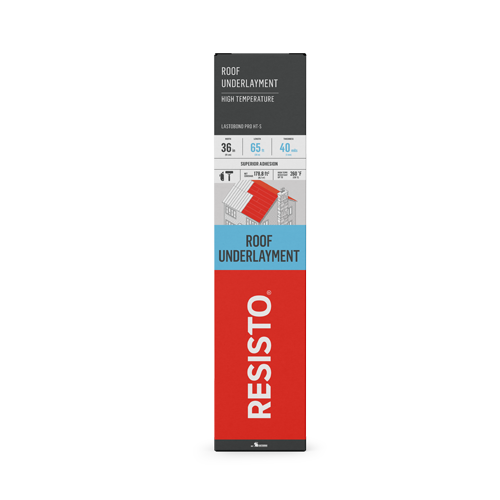
RESISTO ROOF UNDERLAYMENT – HIGH TEMPERATURE LASTOBOND PRO HT-N and ROOF UNDERLAYMENT – HIGH TEMPERATURE LASTOBOND PRO HT-S eave protection membranes are perfect solutions for high-performance and efficient waterproofing of eaves and roof details.
Tools Required
- Membrane roller
- Utility knife
- Tape measure
Application Conditions
The minimum application temperature of the RESISTO ROOF UNDERLAYMENT – HIGH TEMPERATURE LASTOBOND PRO HT-N is 40 °F (4.5 °C) and 50 °F (10 °C) for the ROOF UNDERLAYMENT – HIGH TEMPERATURE LASTOBOND PRO HT-S. It is important to condition the membranes at a temperature of at least 50 °F (10 °C) before installation.
Substrate
The substrate must be clean, sound and in good condition. Make sure there are no nails or screws protruding from the surface.
- Plywood
- Oriented strand board (OSB), rough side up
- Asphaltic panels (SEMI-RIGID ASPHALT BOARD)
The membrane is installed as a reinforcement on the entire perimeter of the roof and in the most at-risk areas, such as ridges, valleys, hips, and upstands.
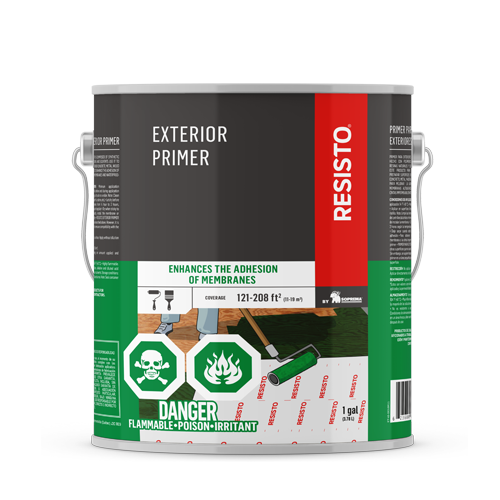
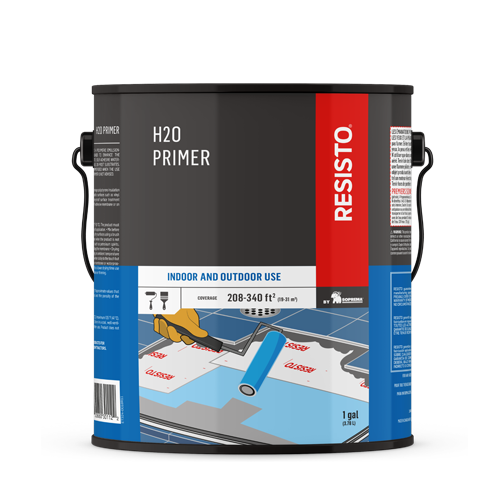
Apply the membrane on a clean, dry surface. With some substrates, the RESISTO PRIMER can be used to increase adhesion.
Note: H2O PRIMER is not compatible with SEMI-RIGID ASPHALT BOARD.
Position the membrane parallel to the edge of the roof, leaving an excess of about 3 in (8 cm) on the edge where the gutter will be installed.
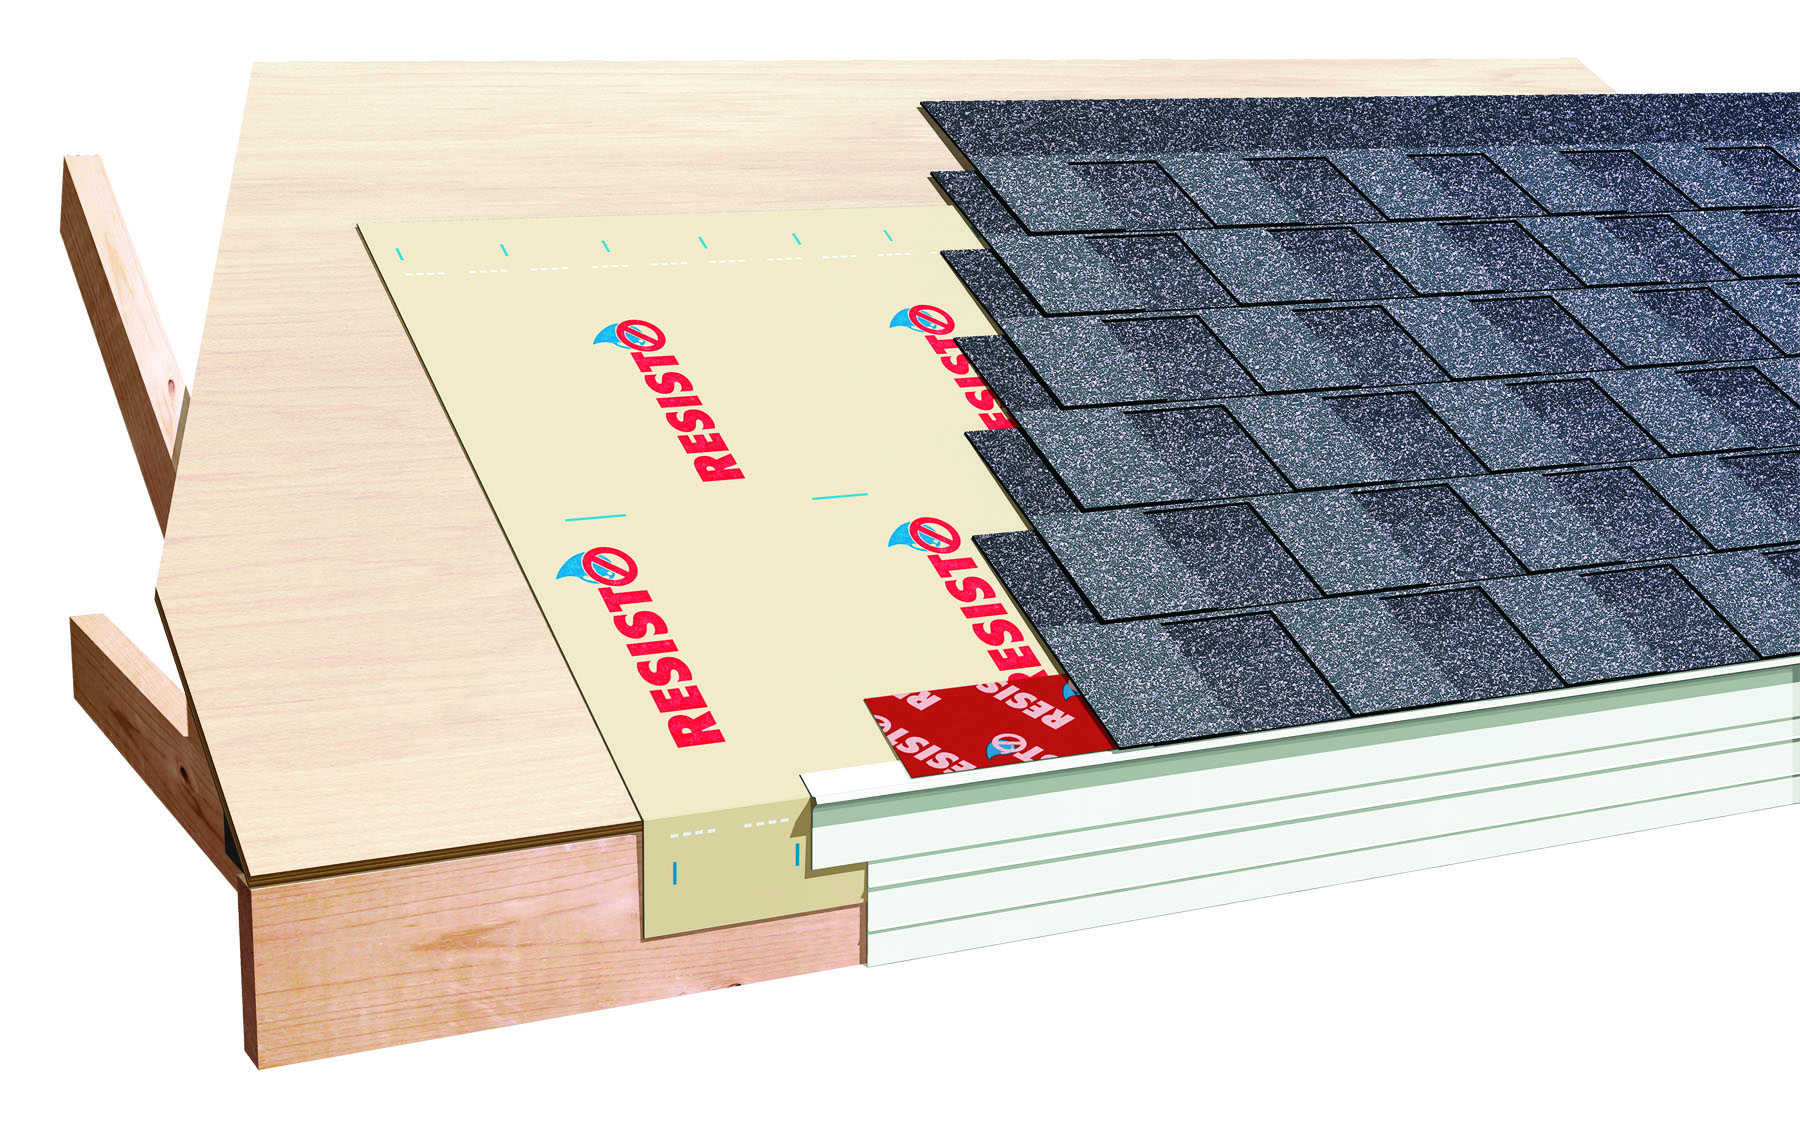
Remove the protective film on a 4 in (10 cm) surface.
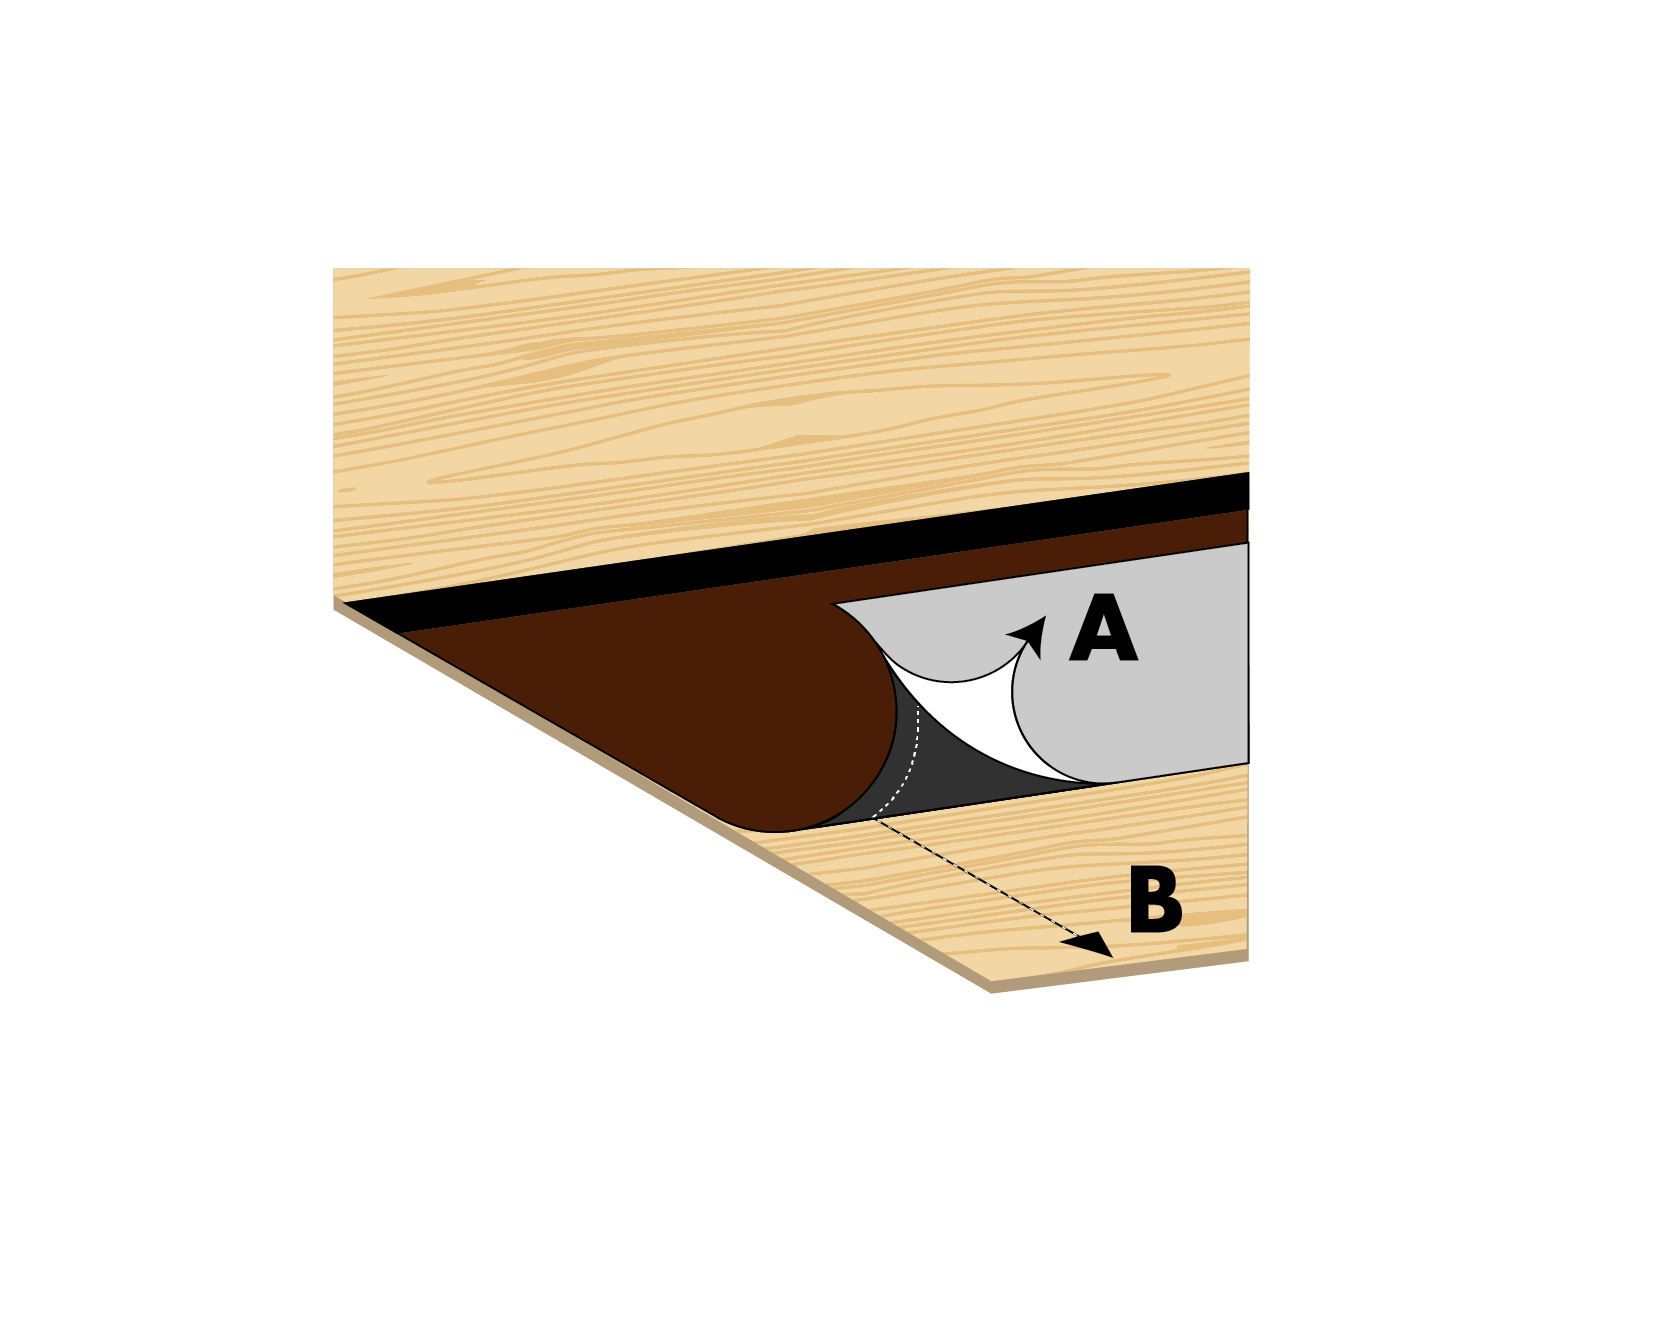
Adhere the membrane, then remove the protective film.
Apply pressure on the membrane using a metal or hard rubber roller for stronger adhesion.
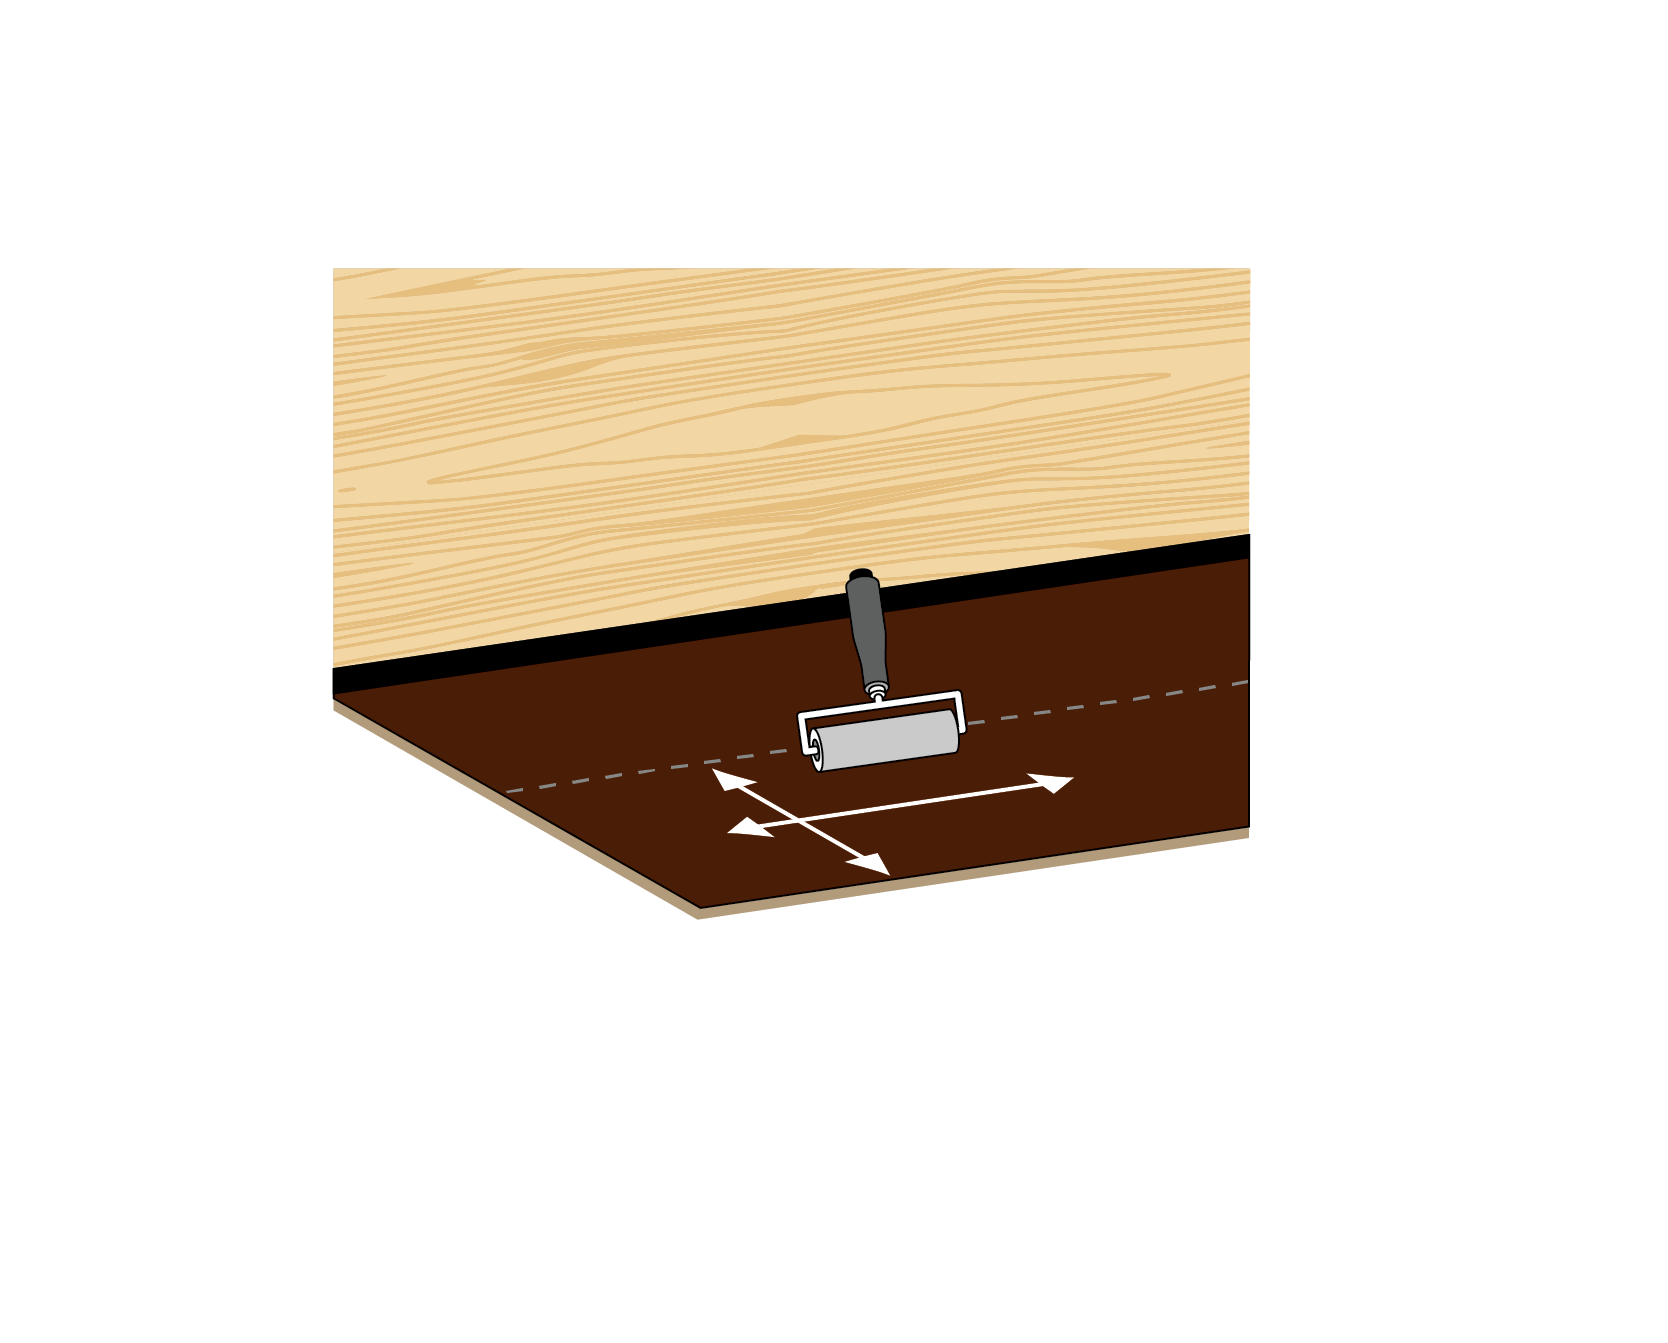
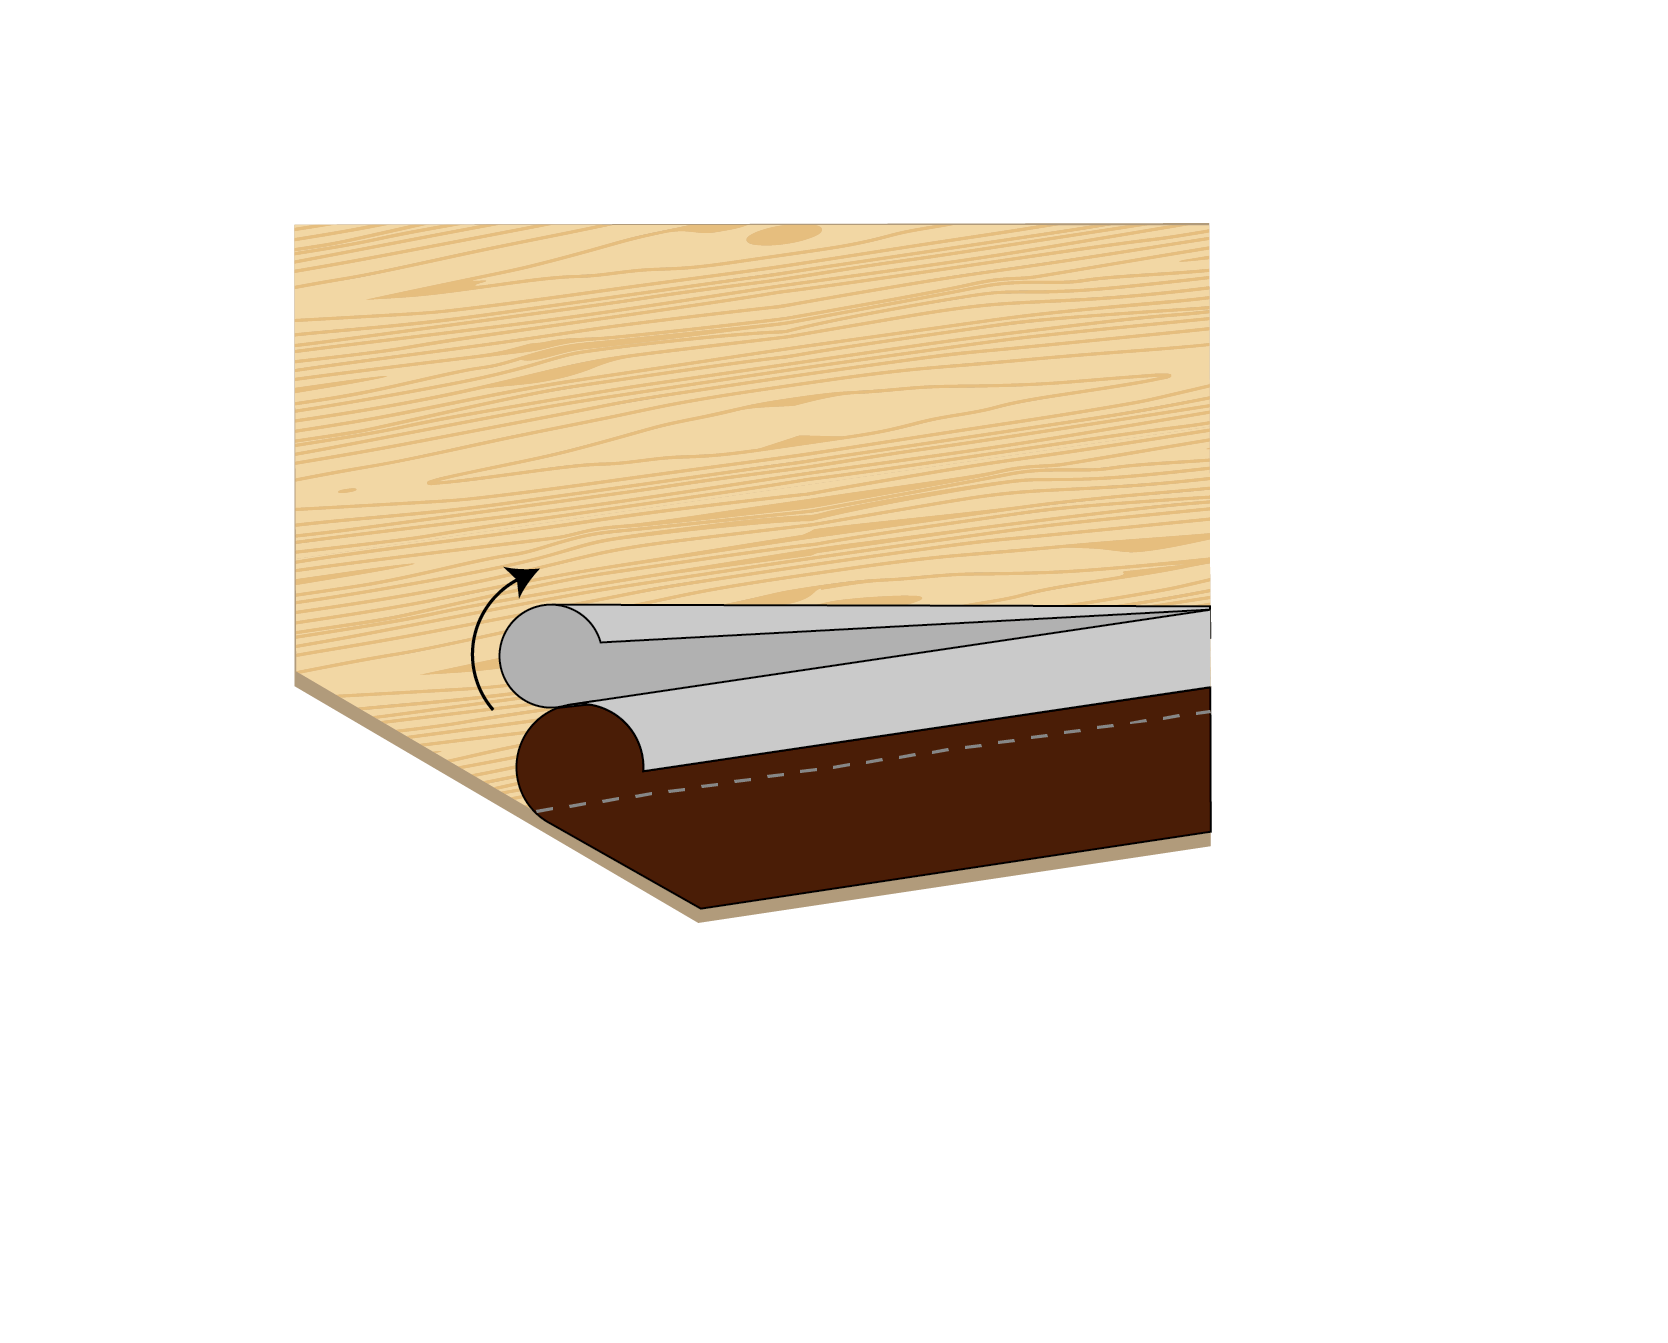
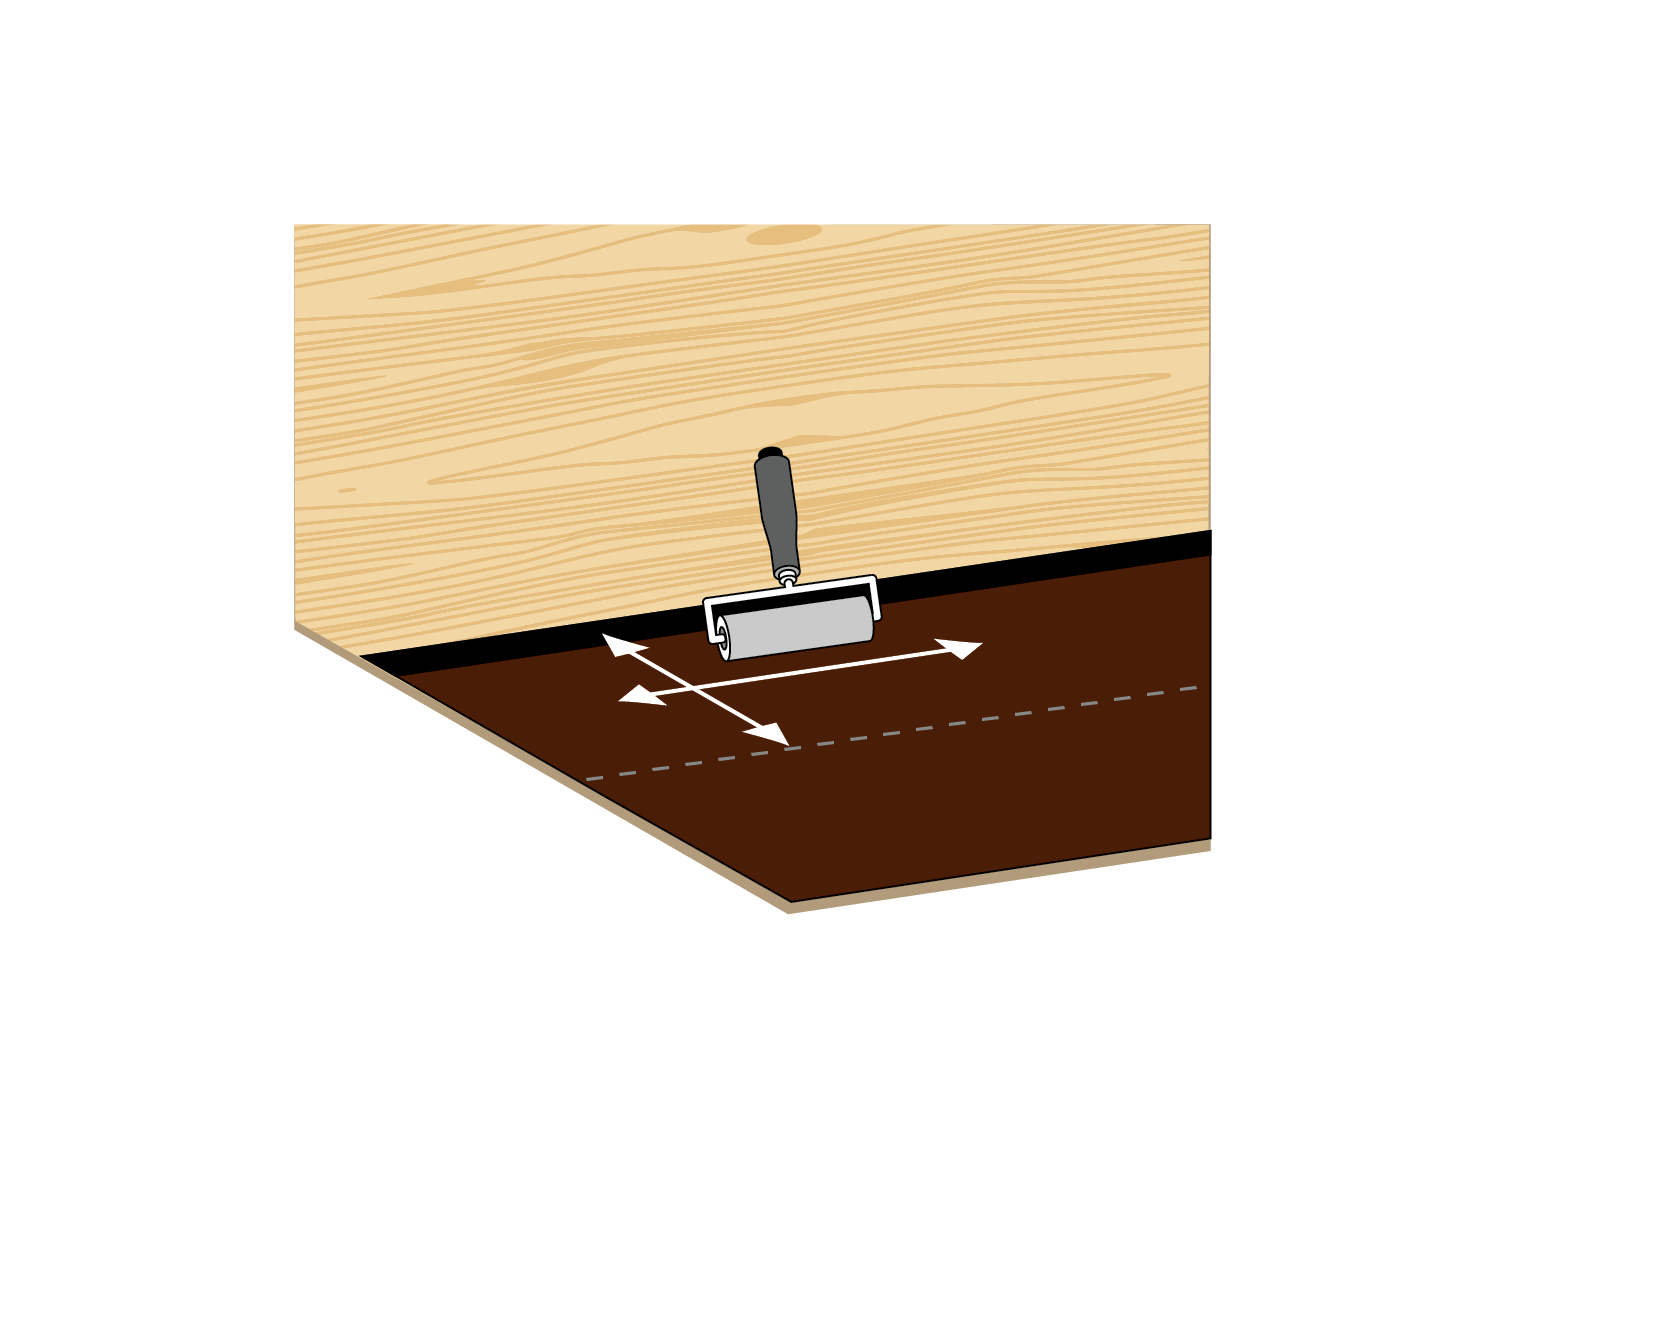
To apply a membrane over one metre in width, or to butt joint two pieces, an overlap of 3 in (8 cm) is required.
After installing the metal flashing on the edge, install a strip of AIR AND VAPOR BARRIER MEMBRANE REDZONE of at least 4 in (10 cm) in width by overlapping it on the flashing and membrane already installed at the perimeter.
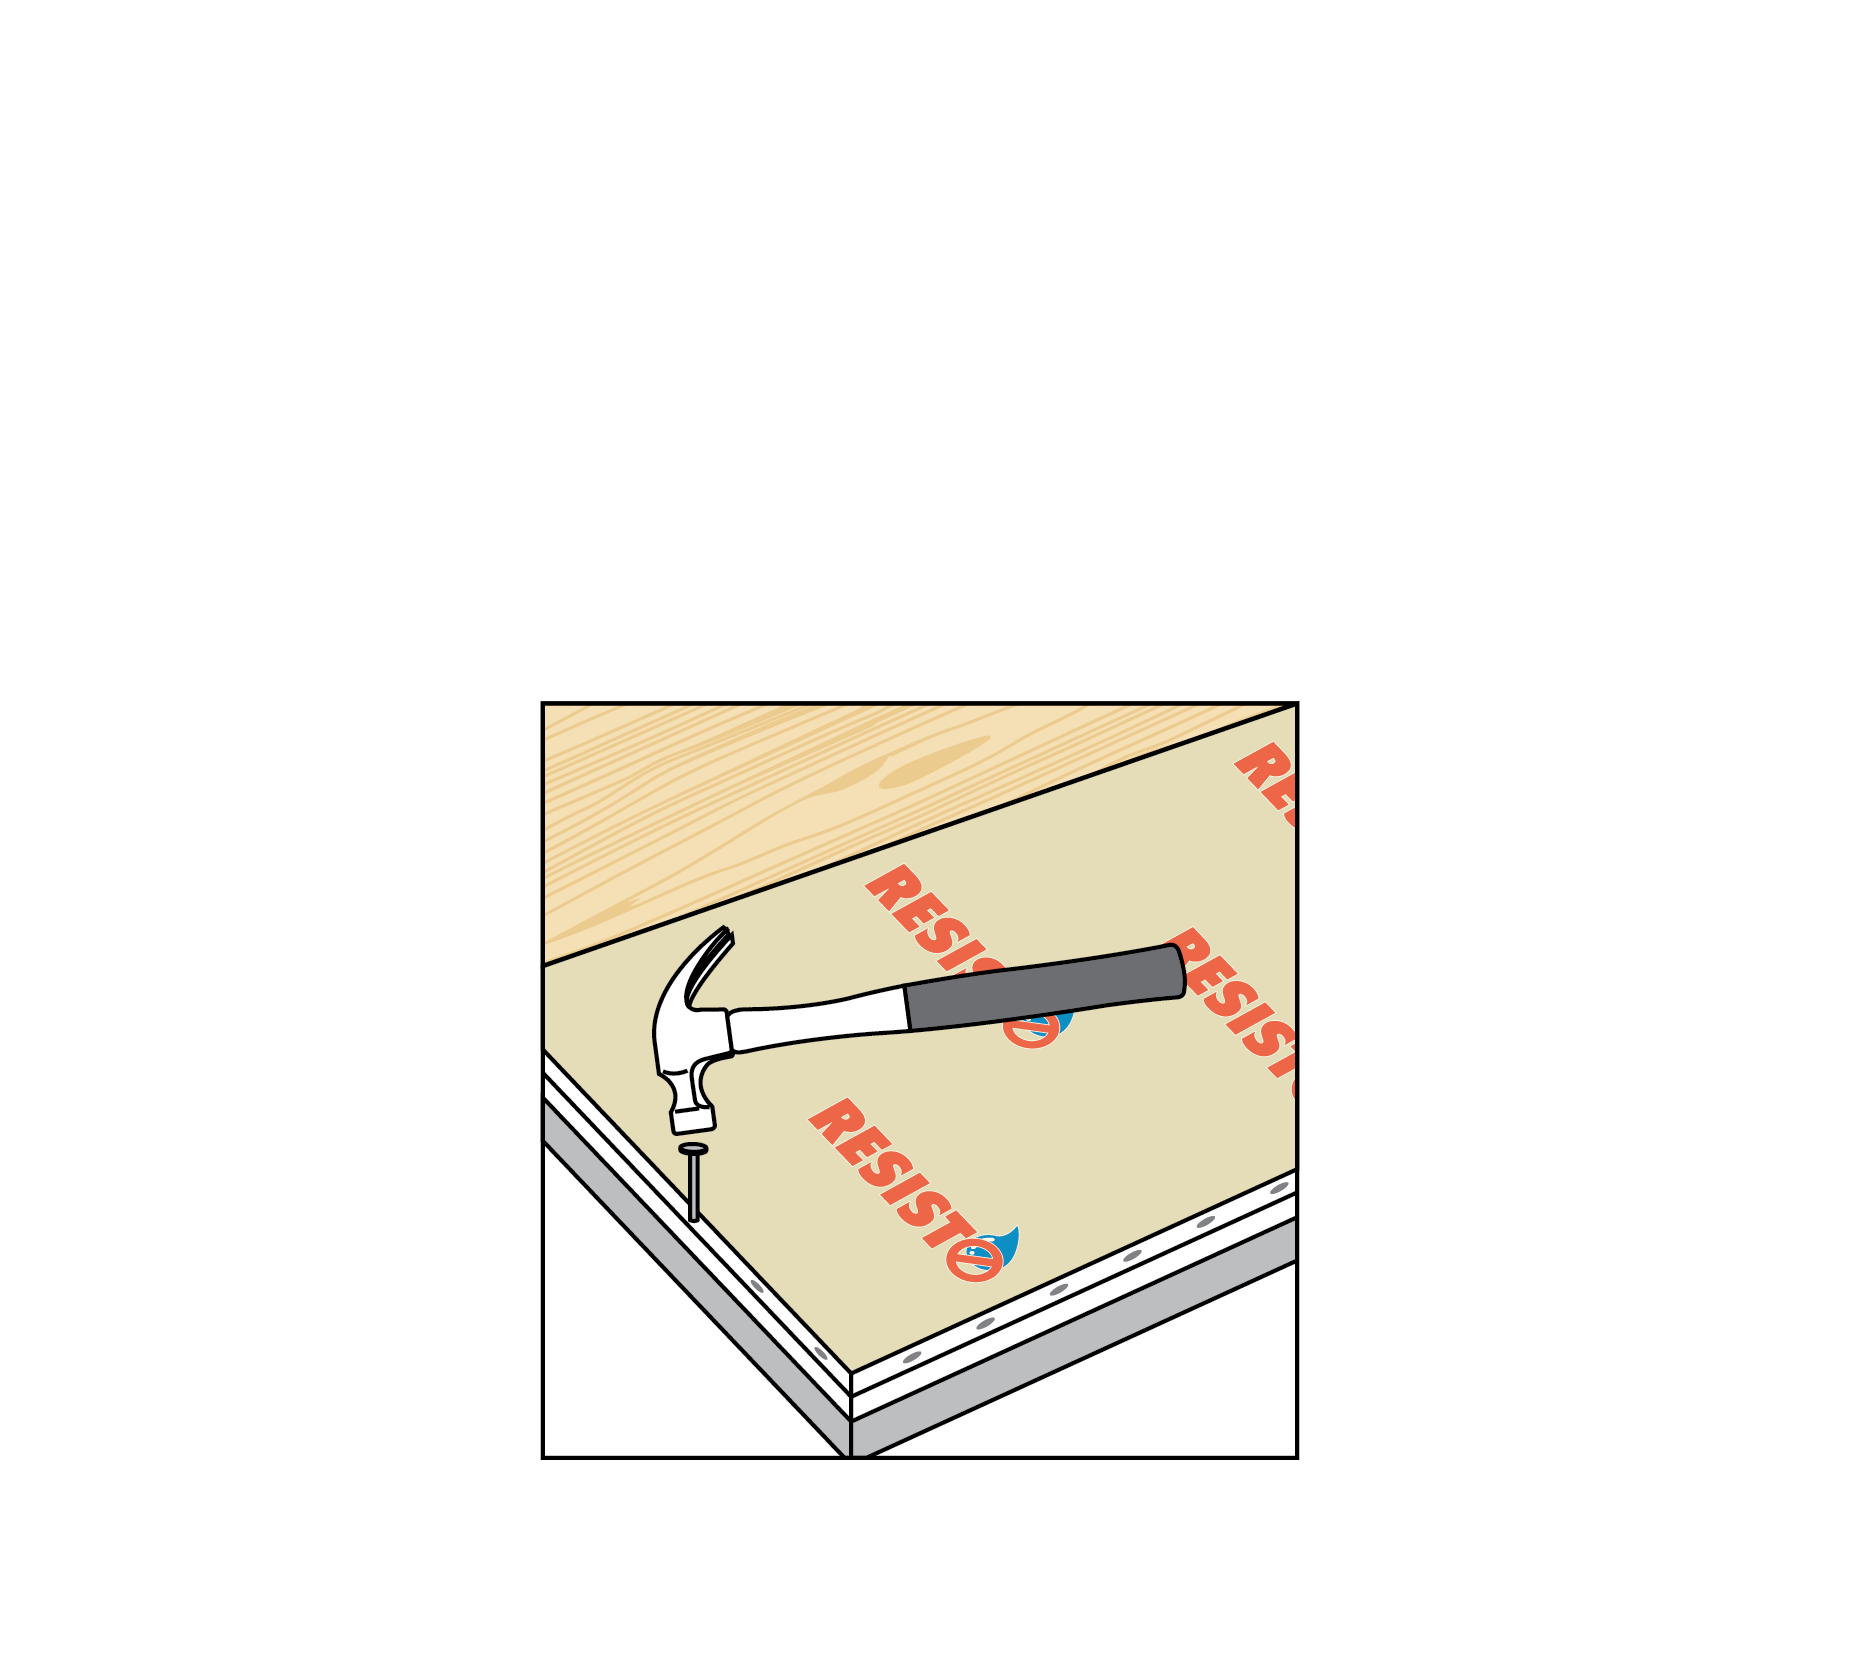
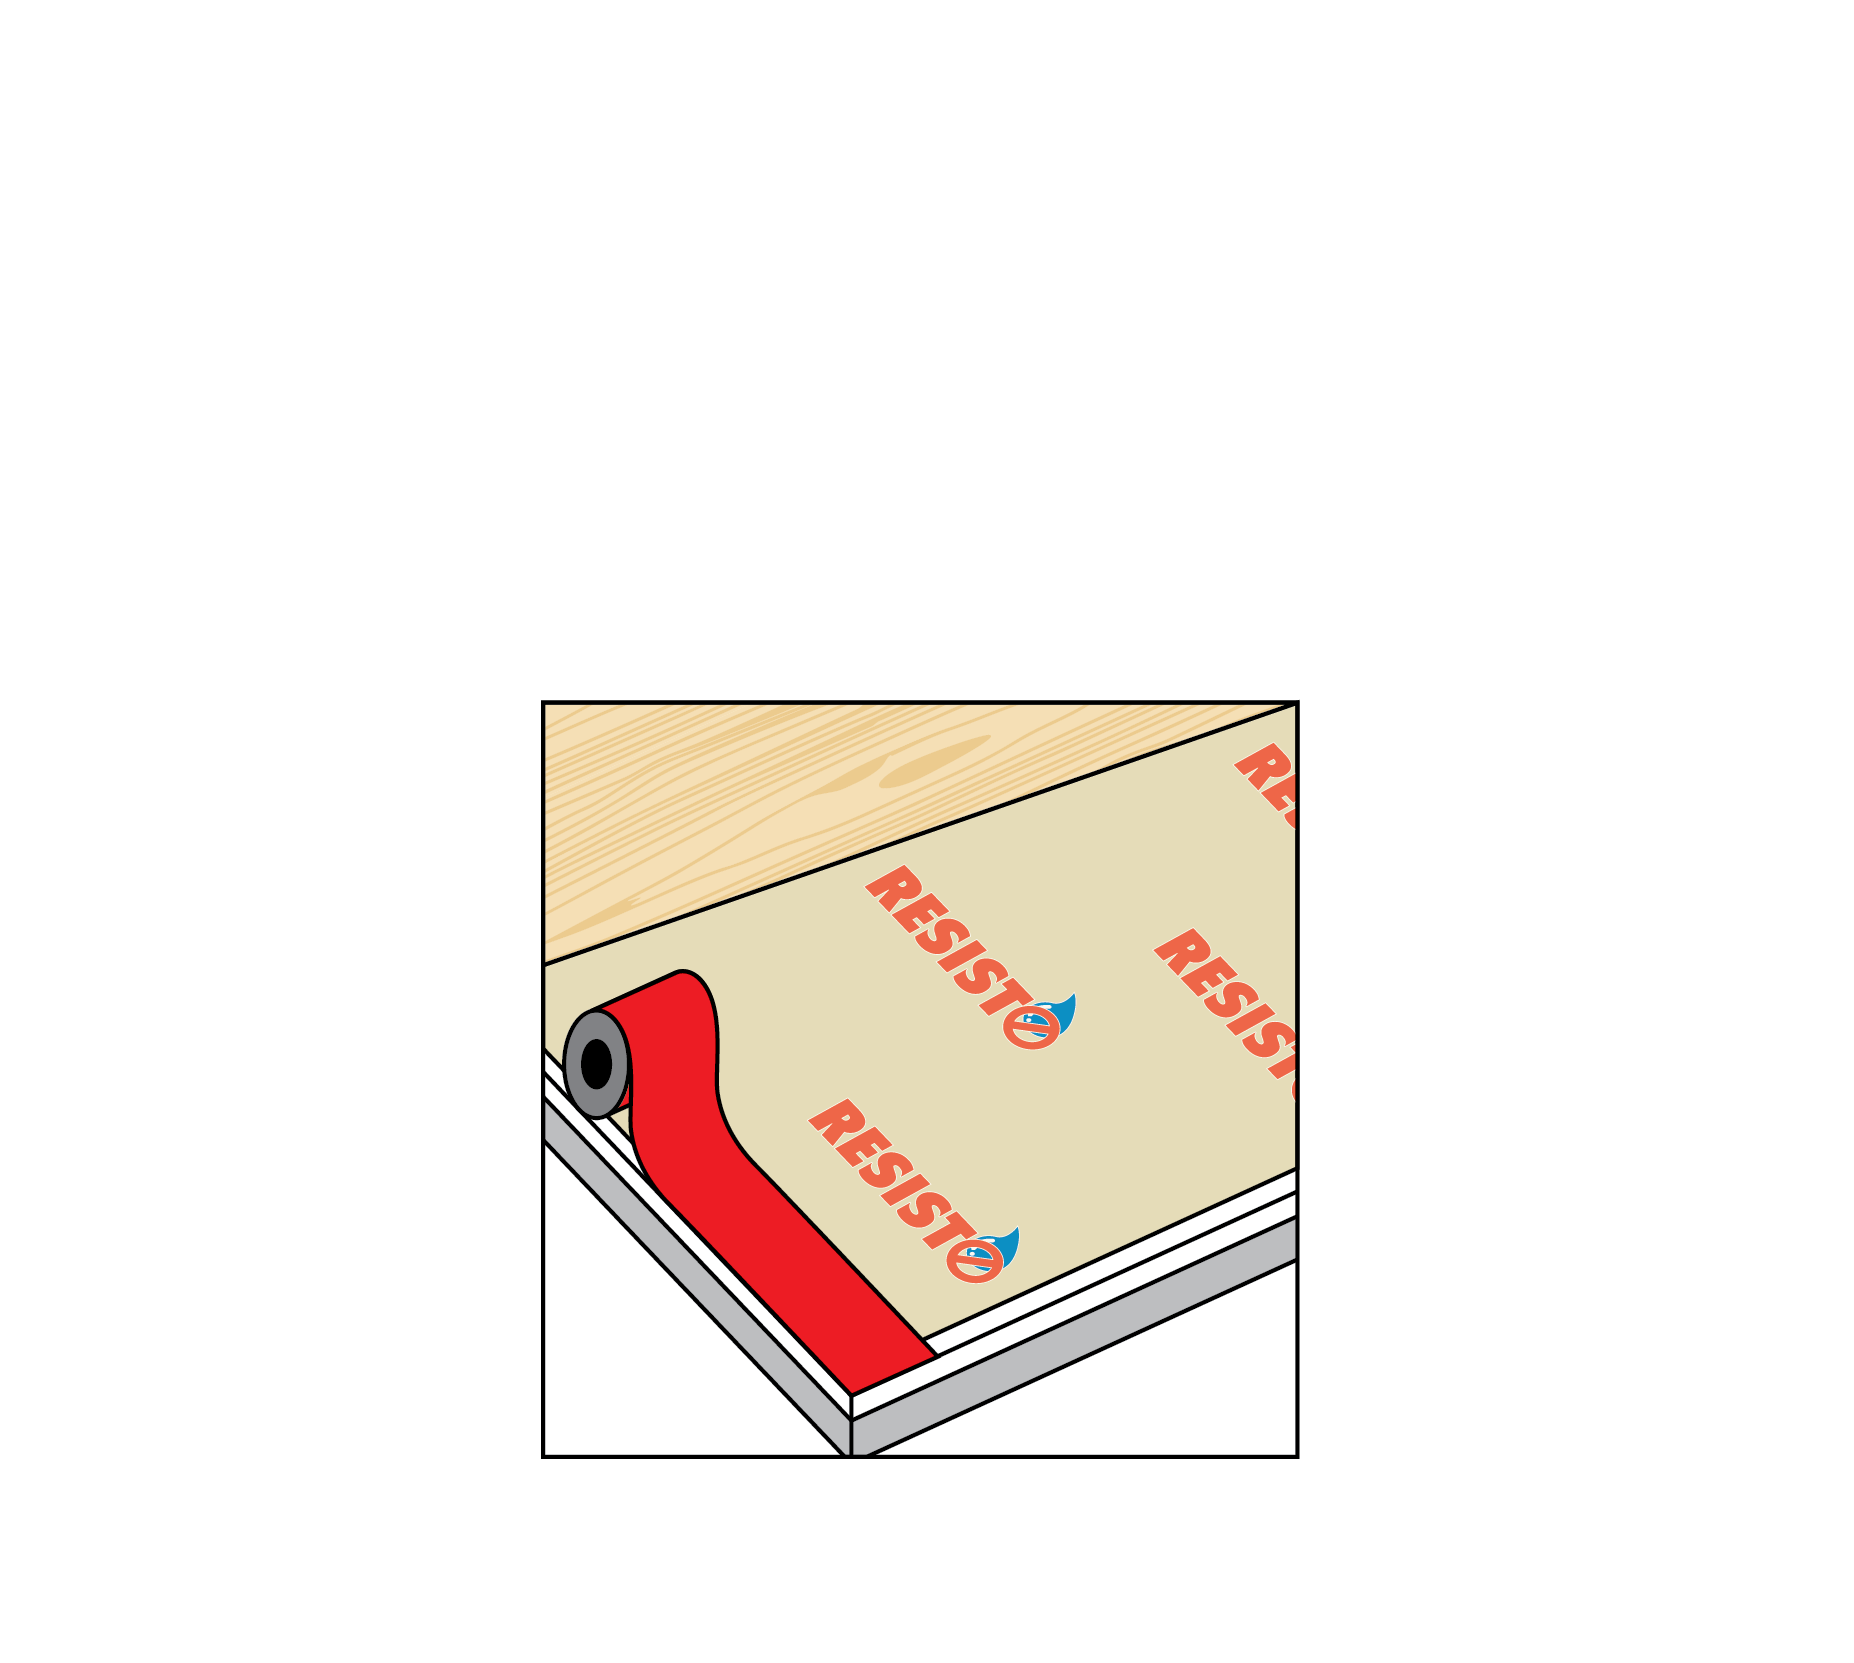
The use of the RESISTO PRIMER is required for this step.
Upstands (walls and chimneys)
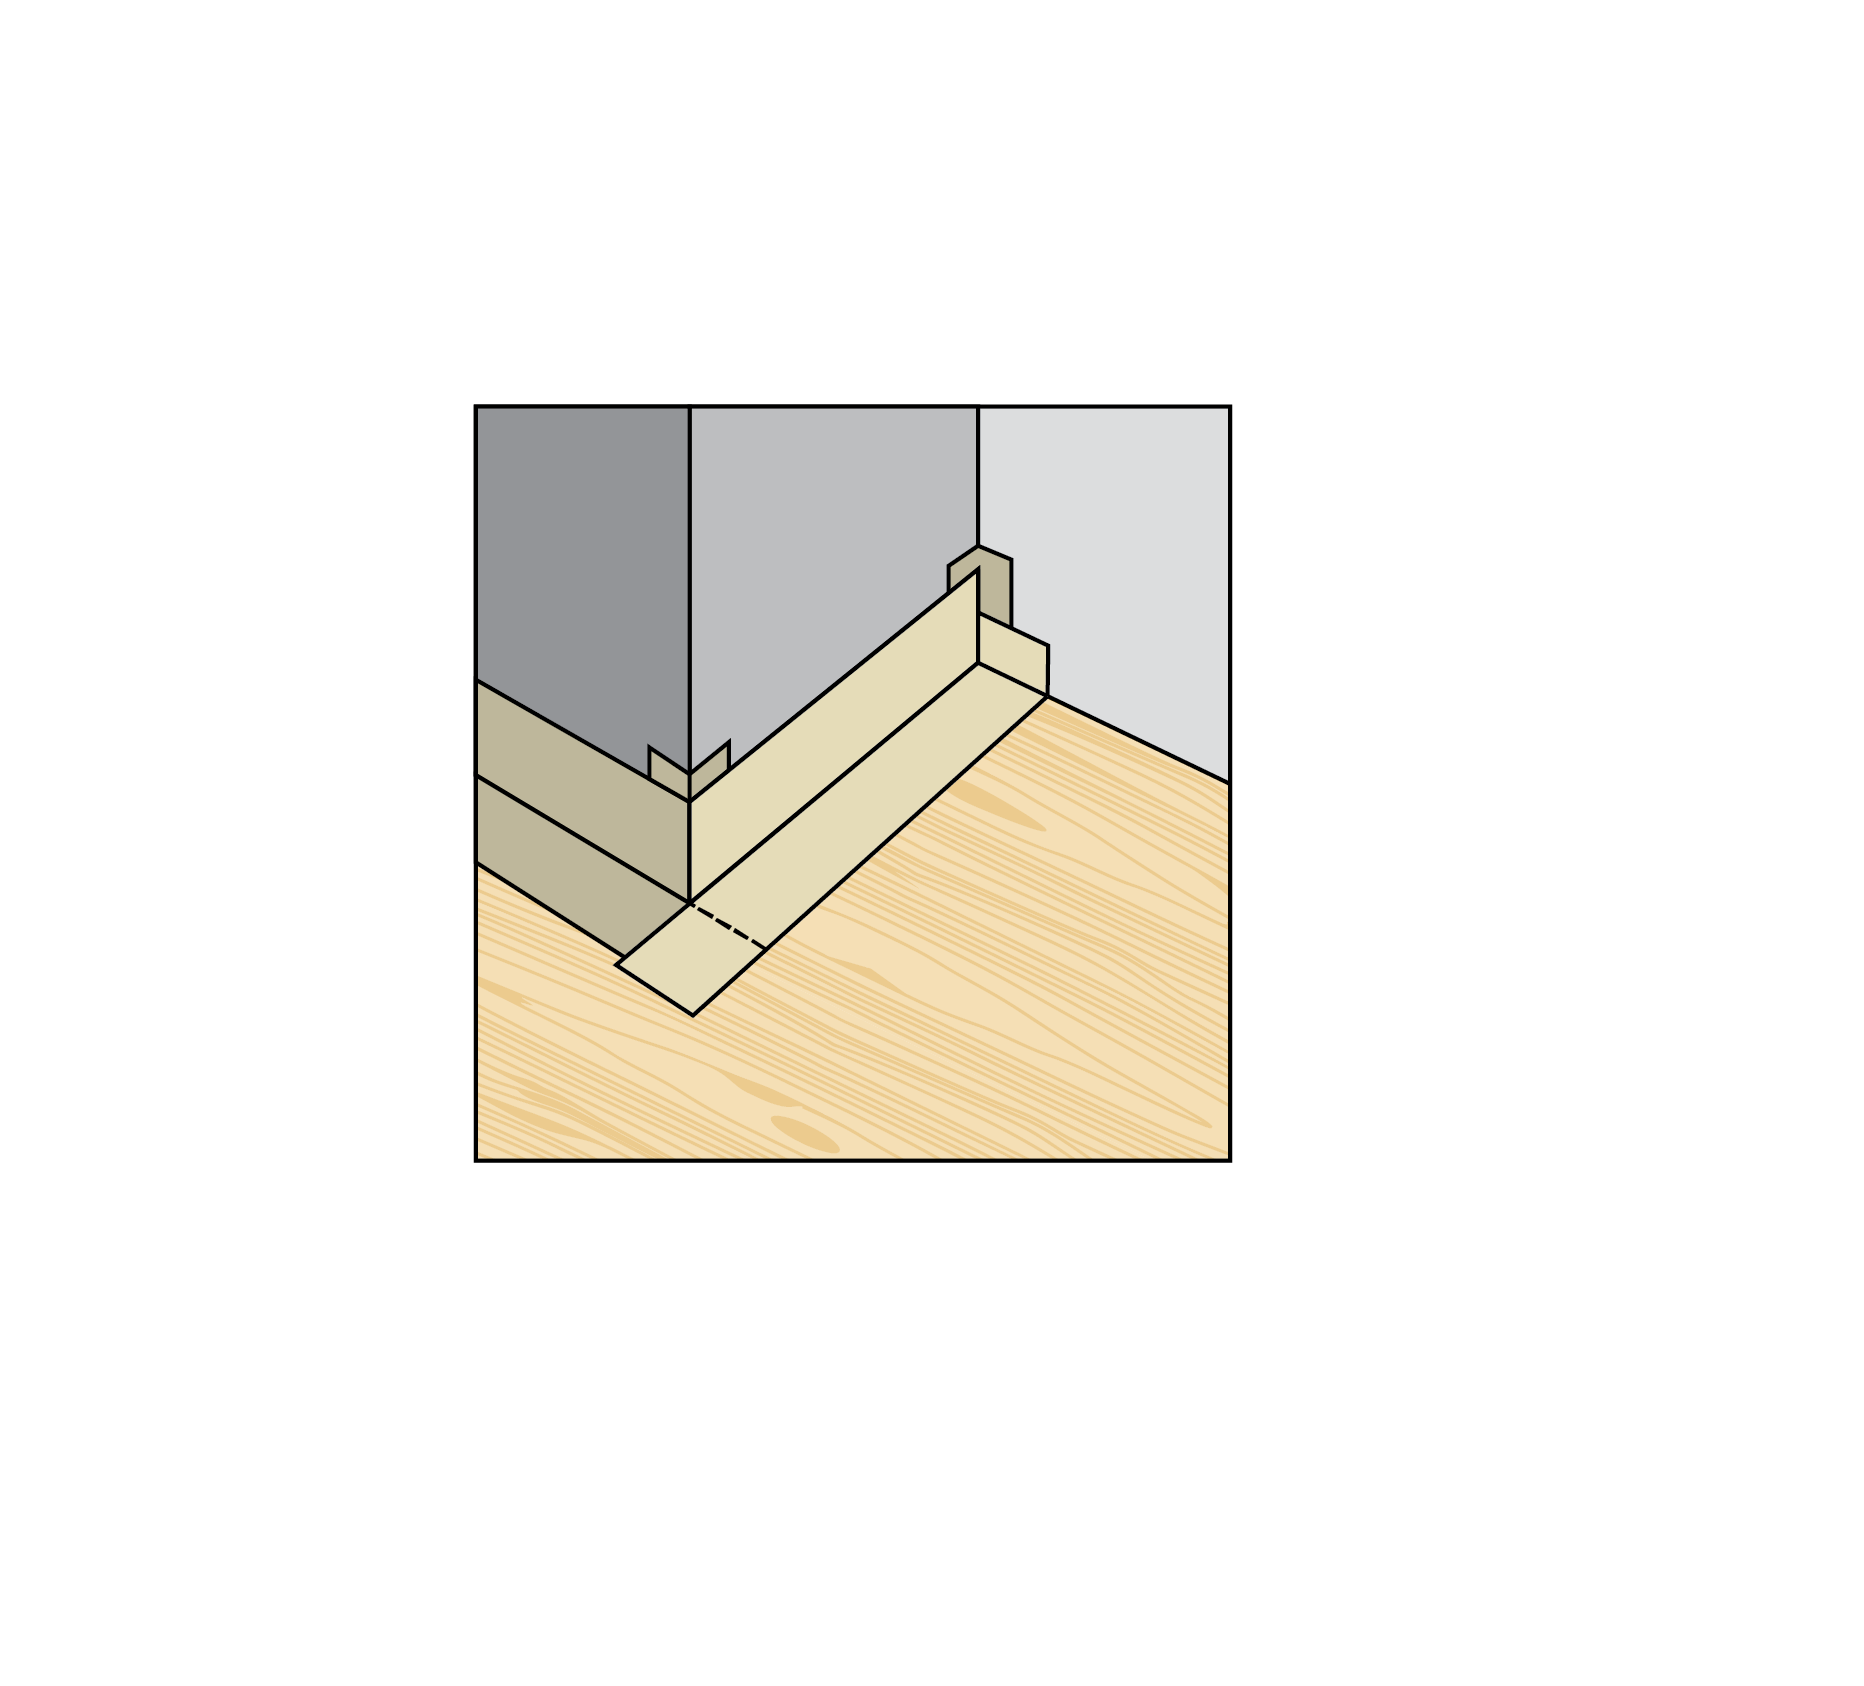
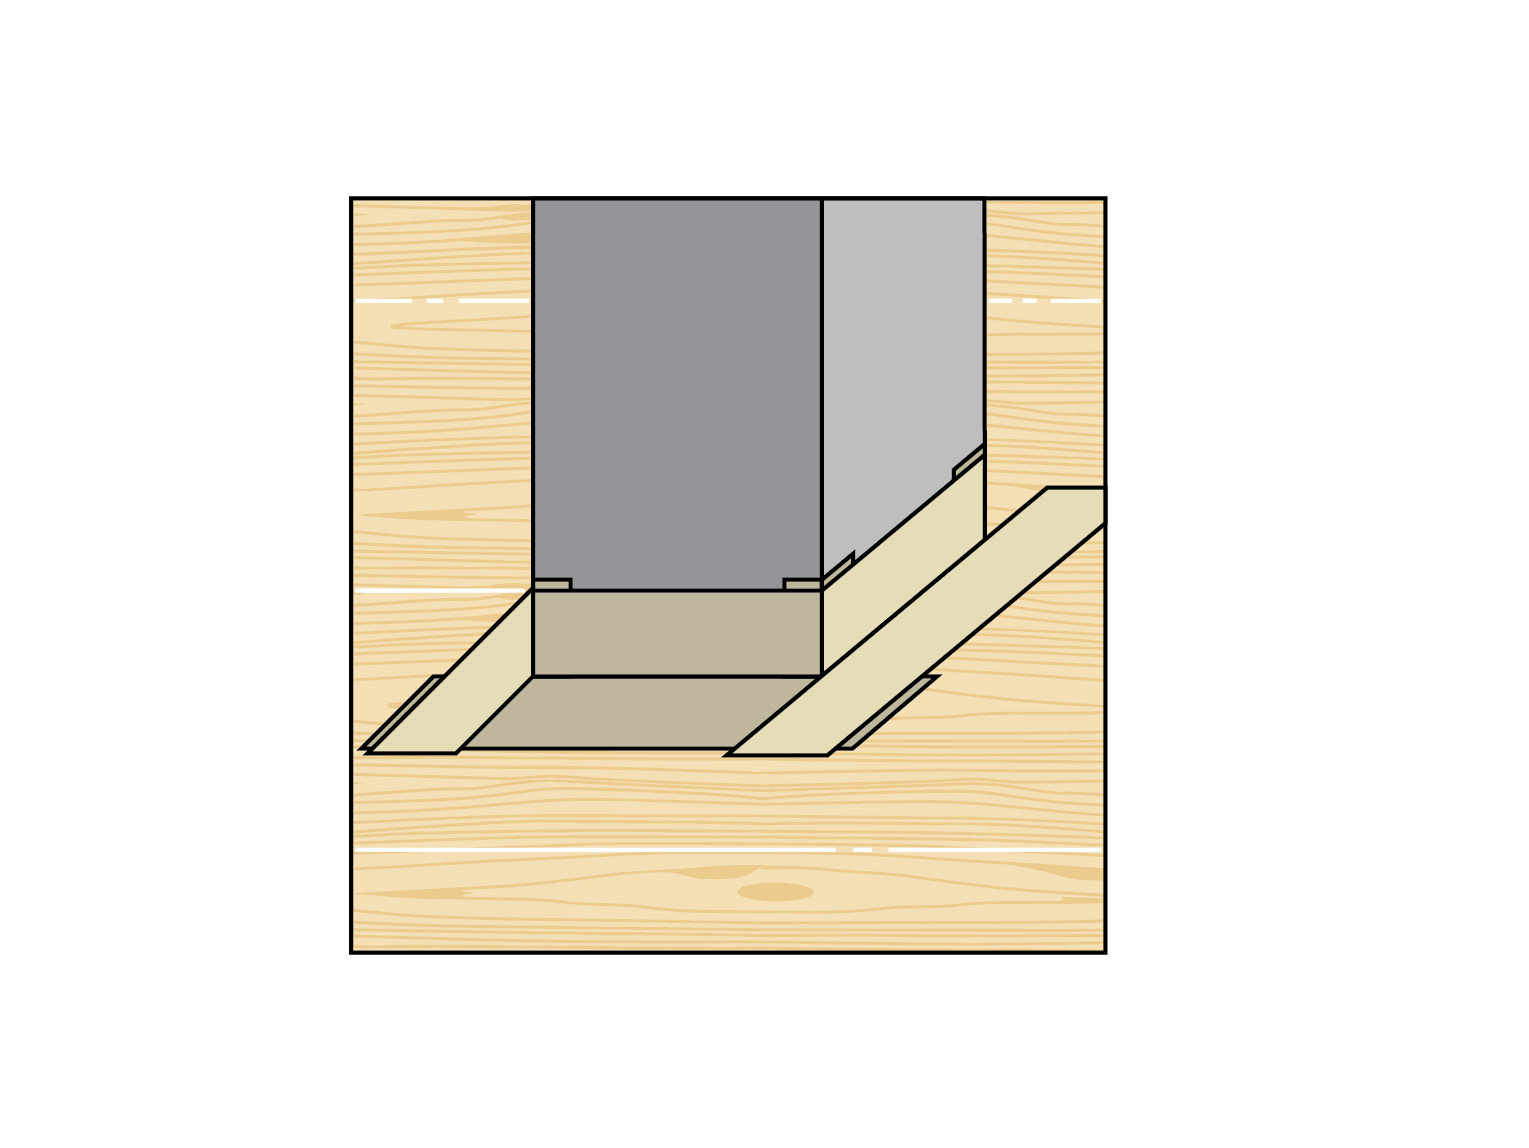
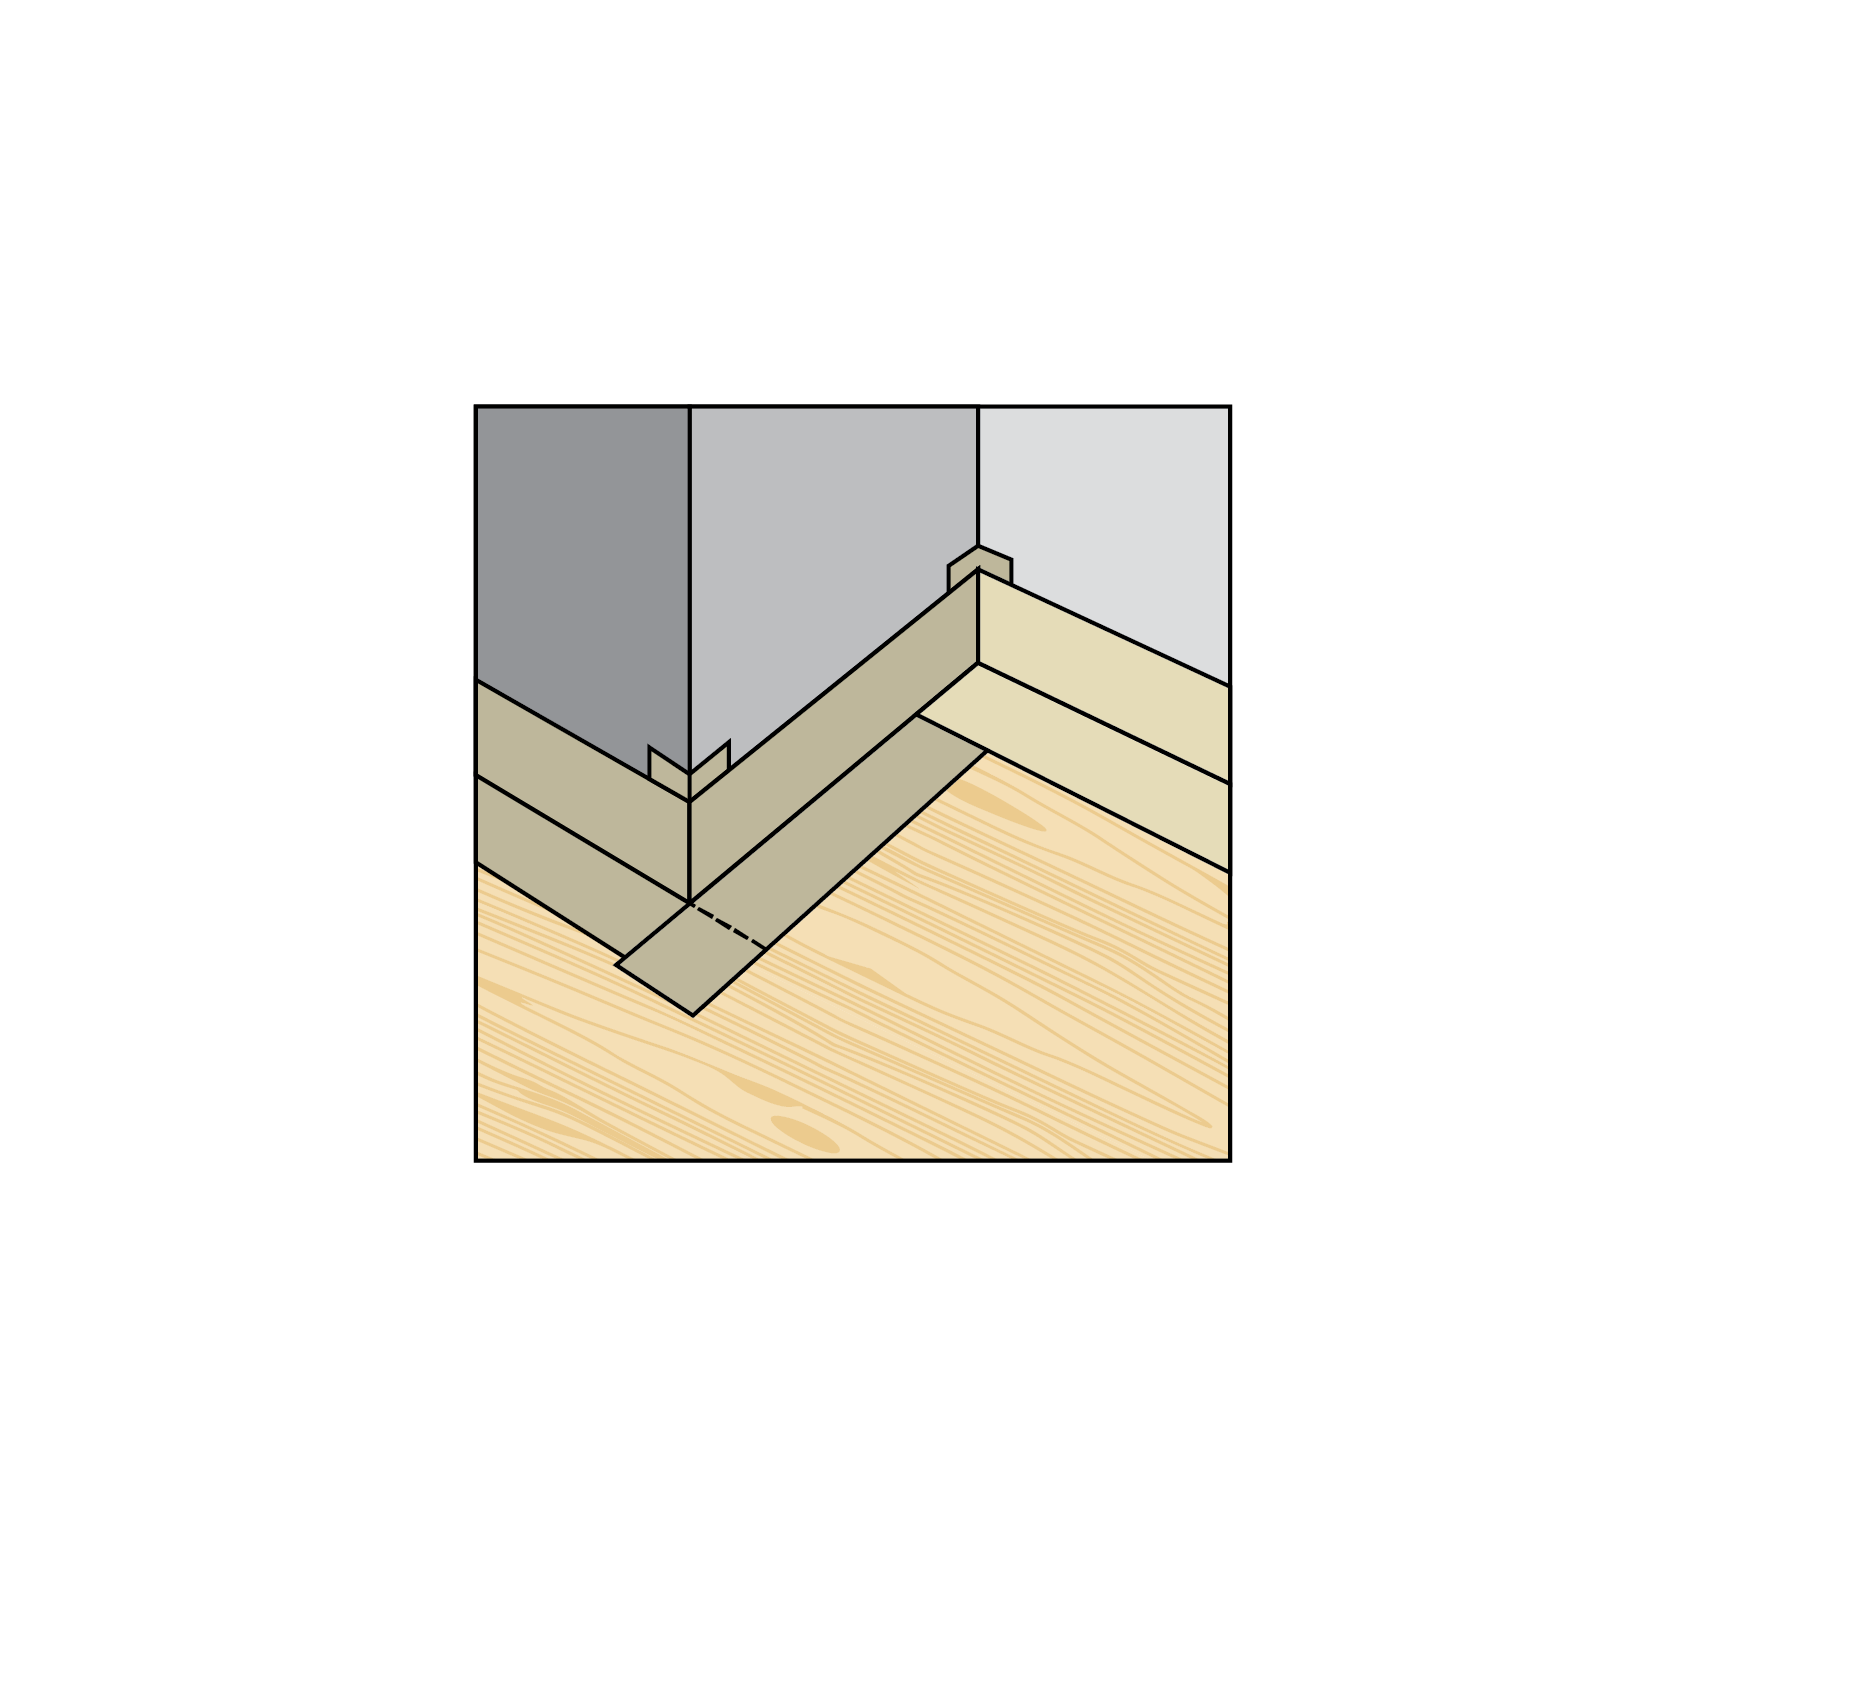
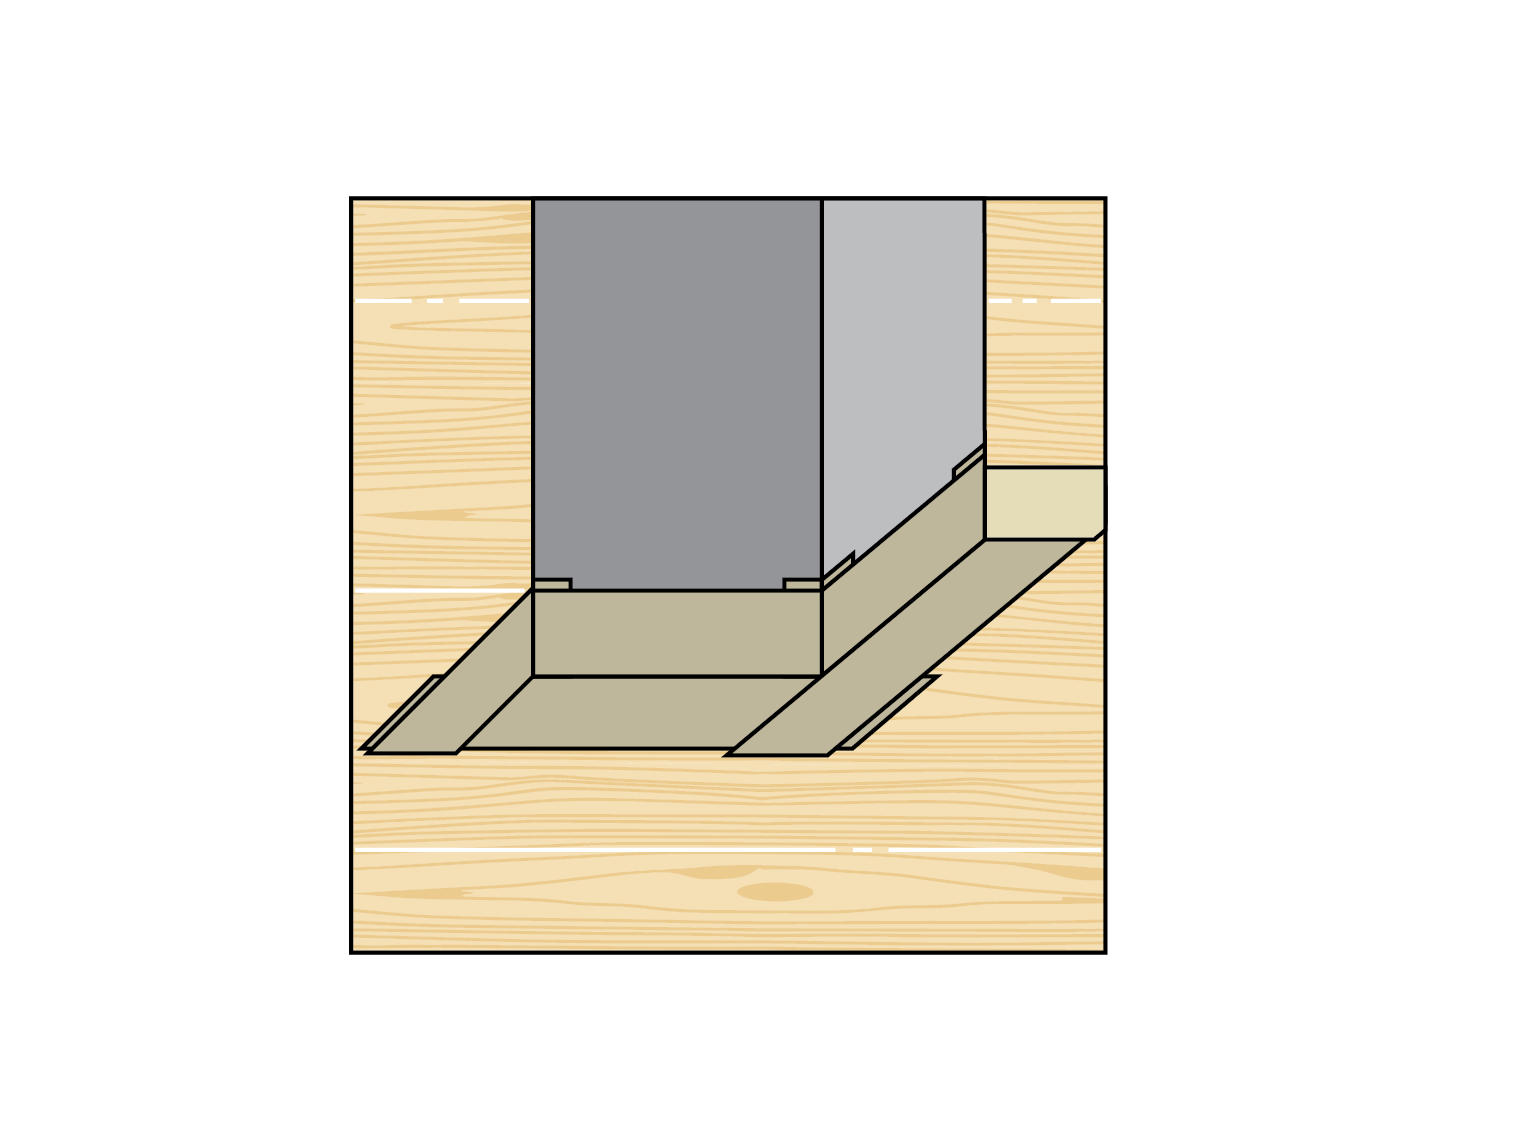
Install a gusset (previously cut piece of membrane).
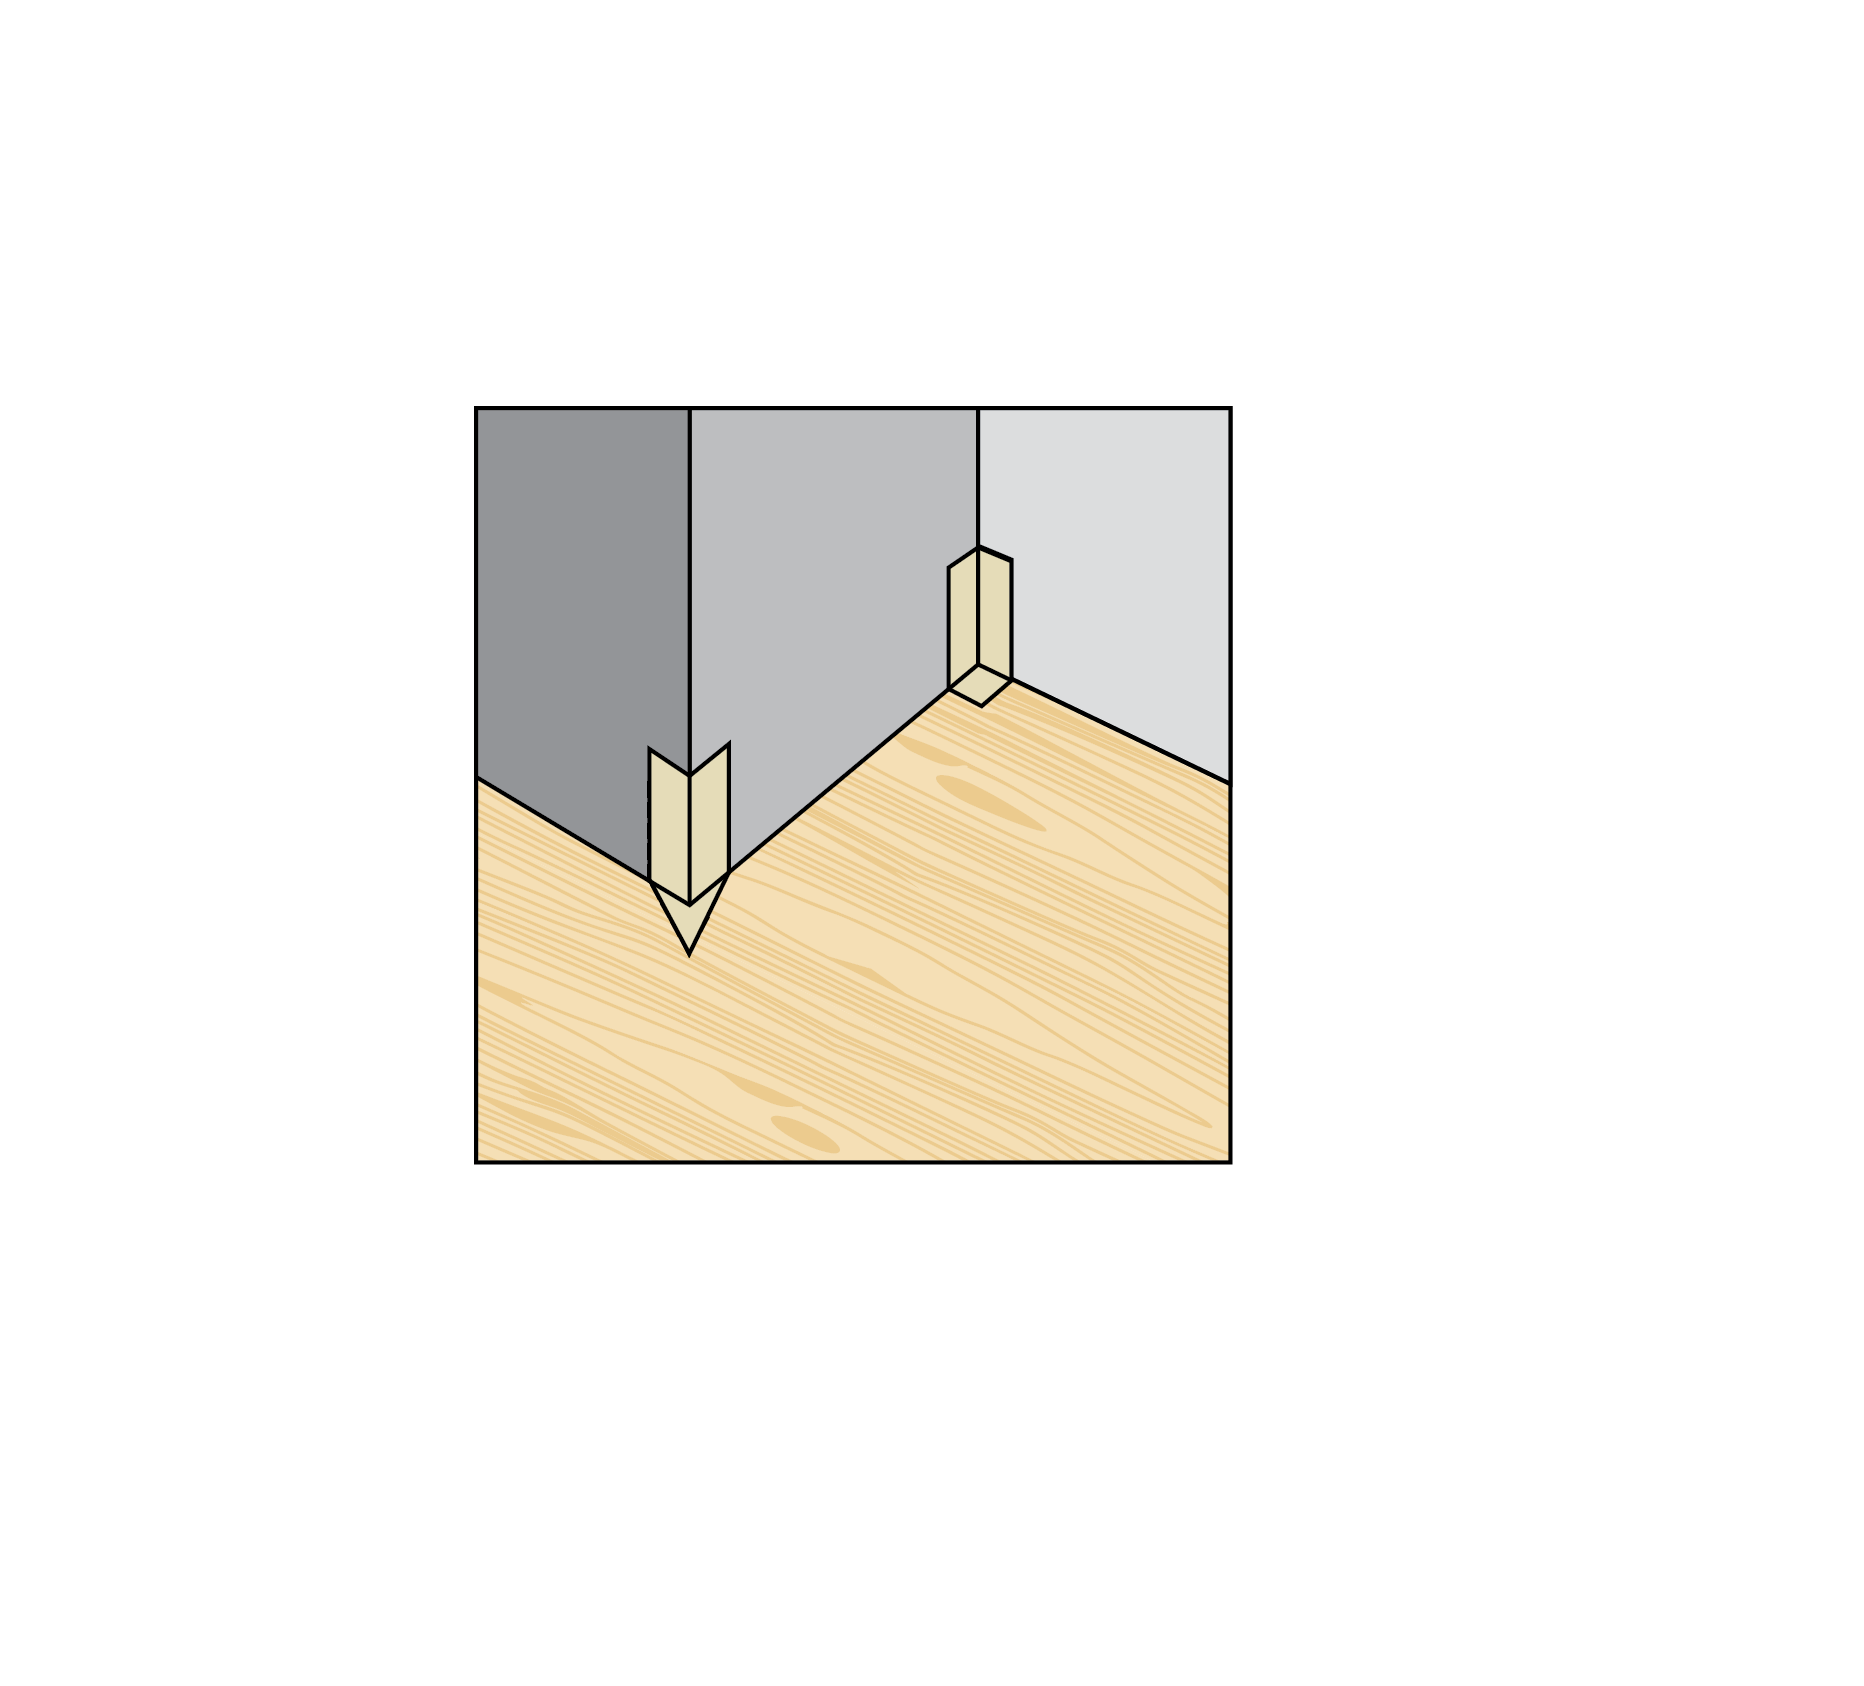
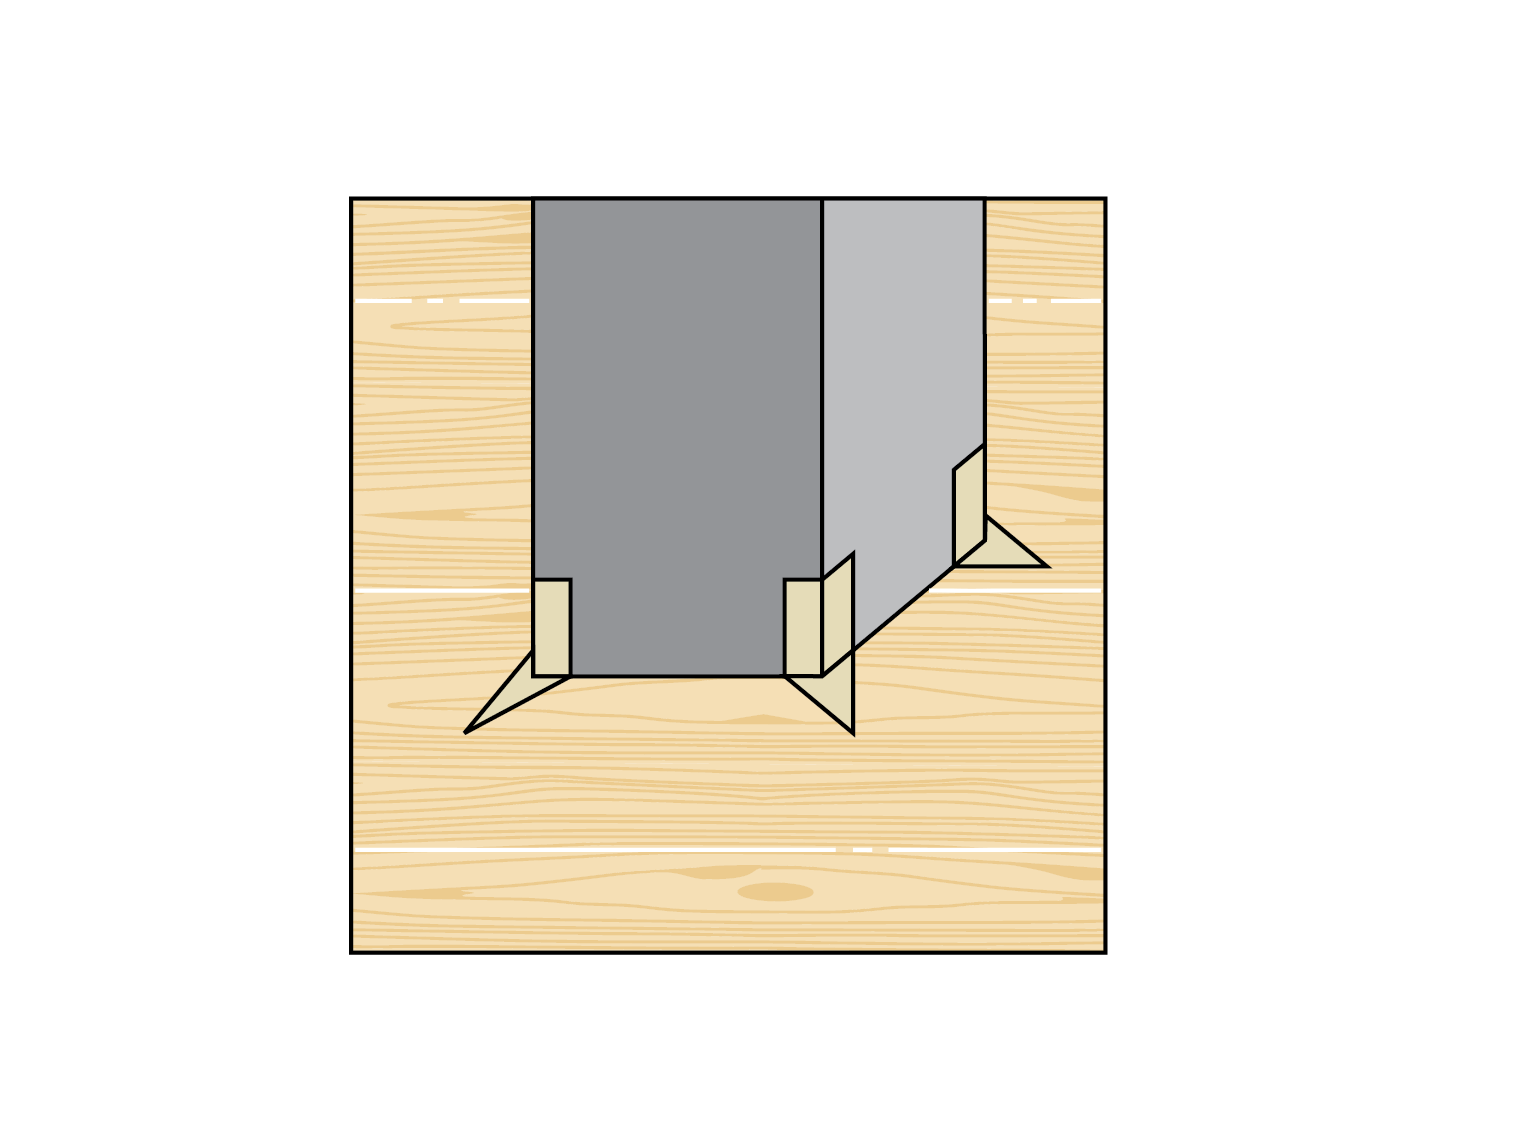
Cut the membrane to obtain a width of 8 in (20 cm).
Adhere the membrane: 4 in (10 cm) will be adhered to the roof surface and 4 in (10 cm) to the upstand. Always start from the base of the upstand and end at the top.
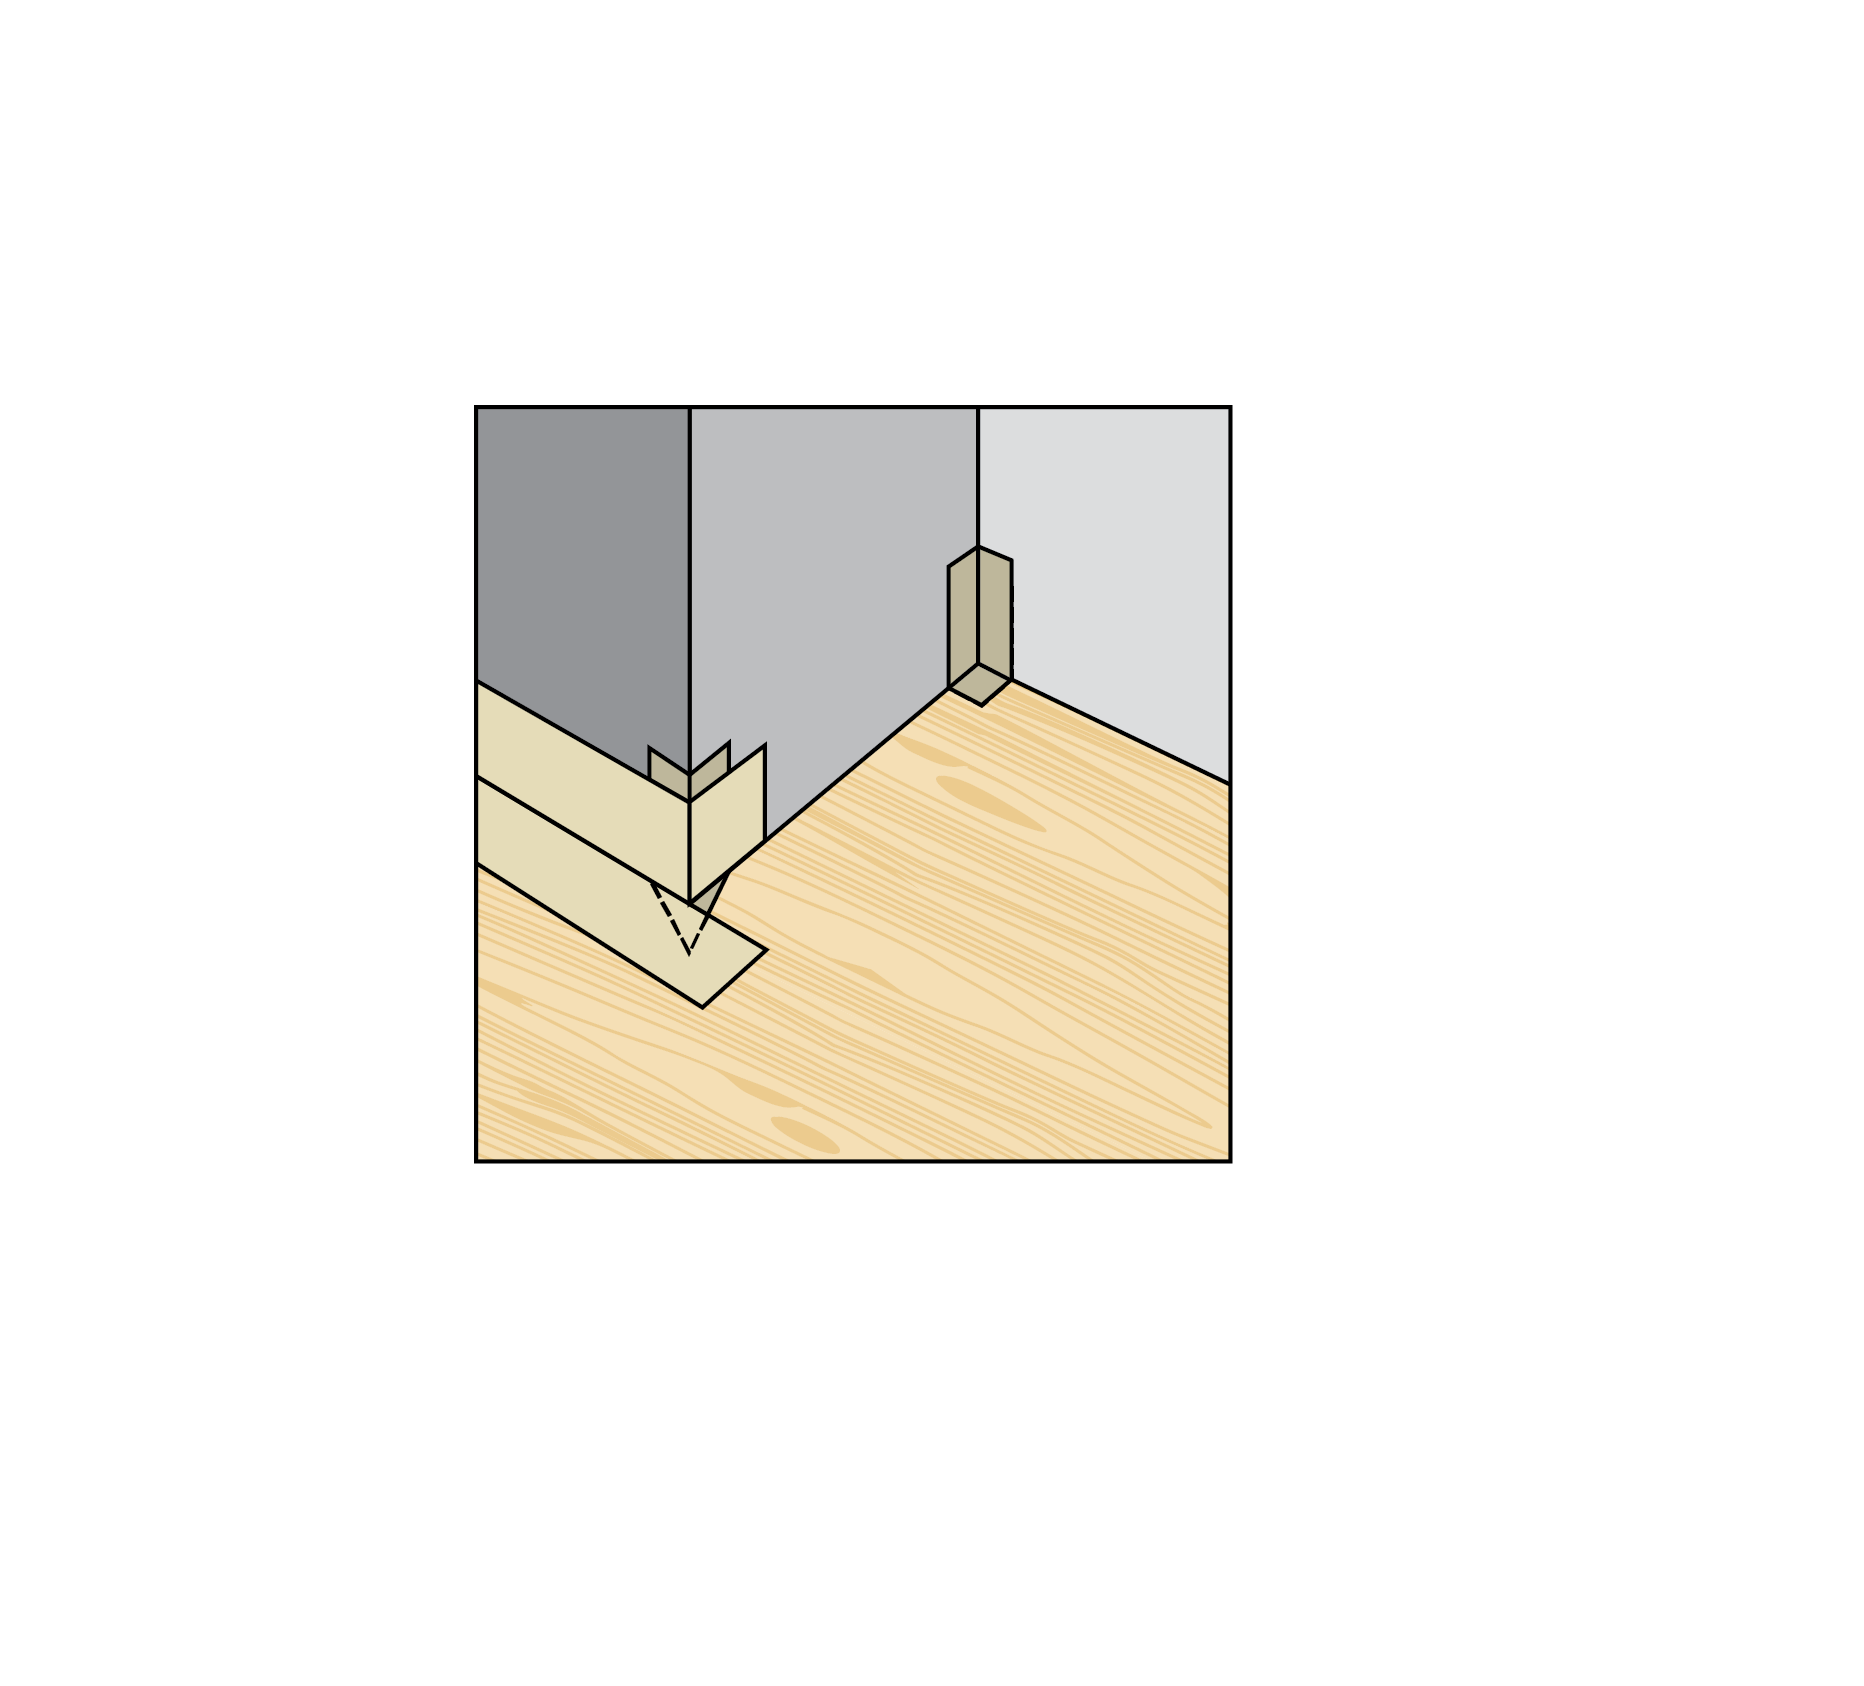
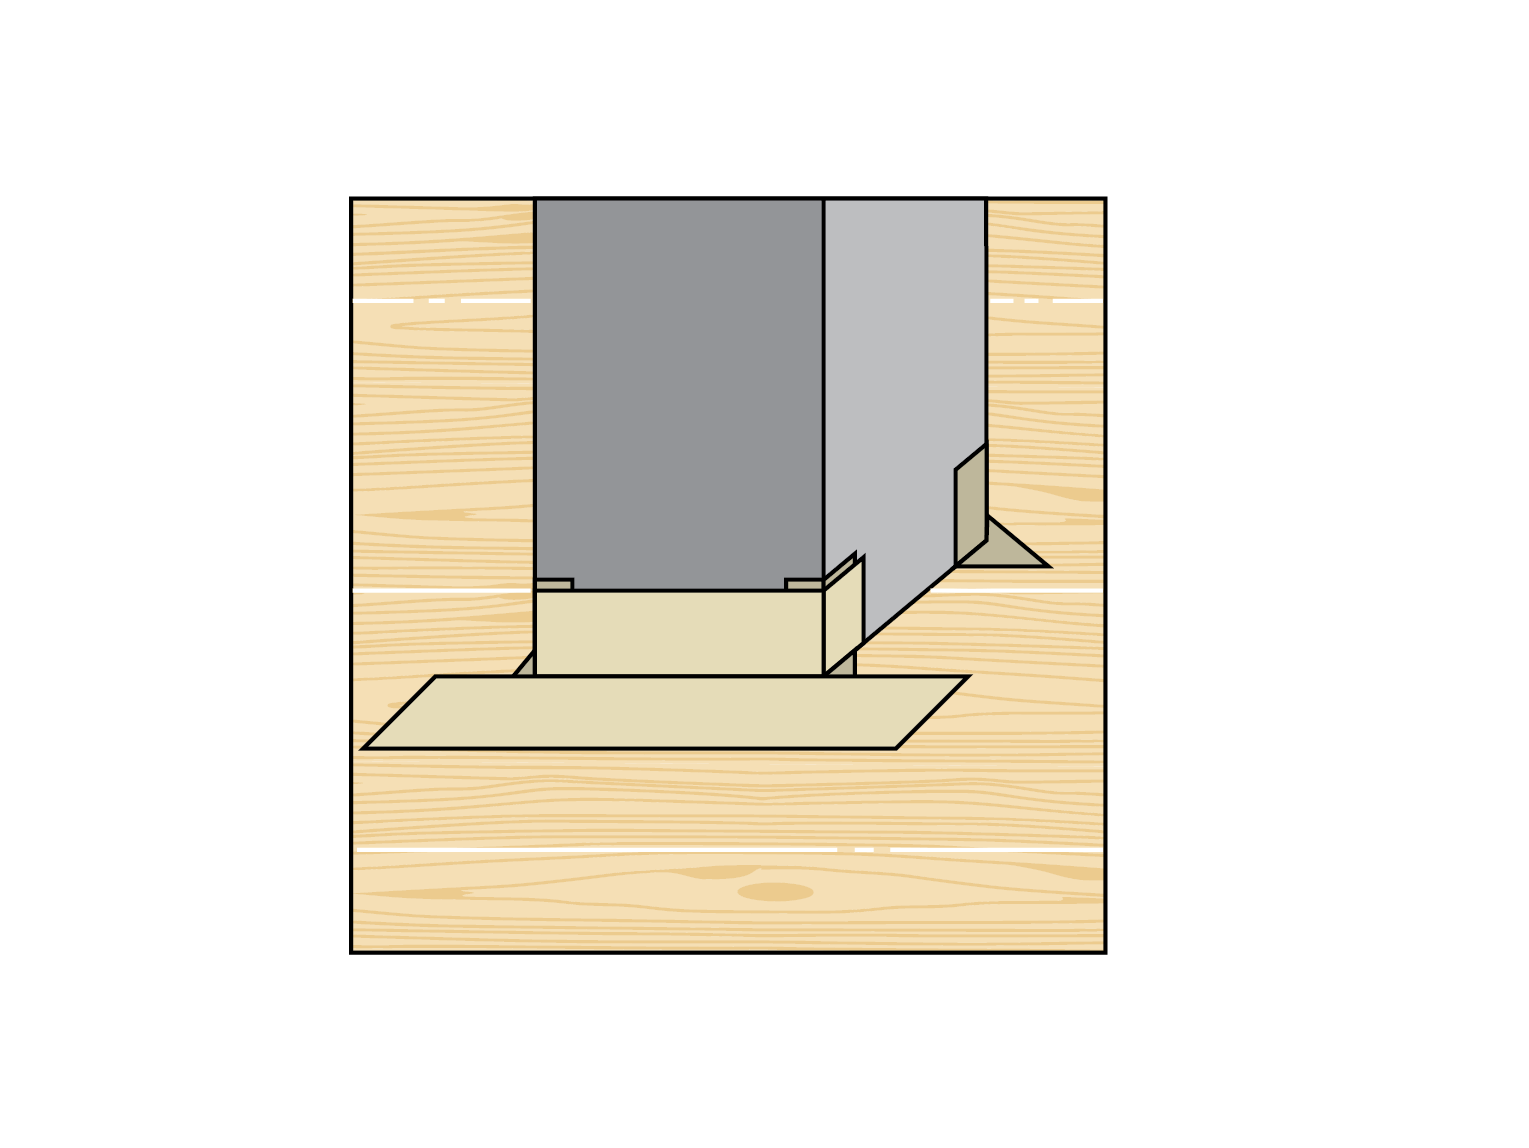
Follow the illustrations for the next steps.
Circular outlets
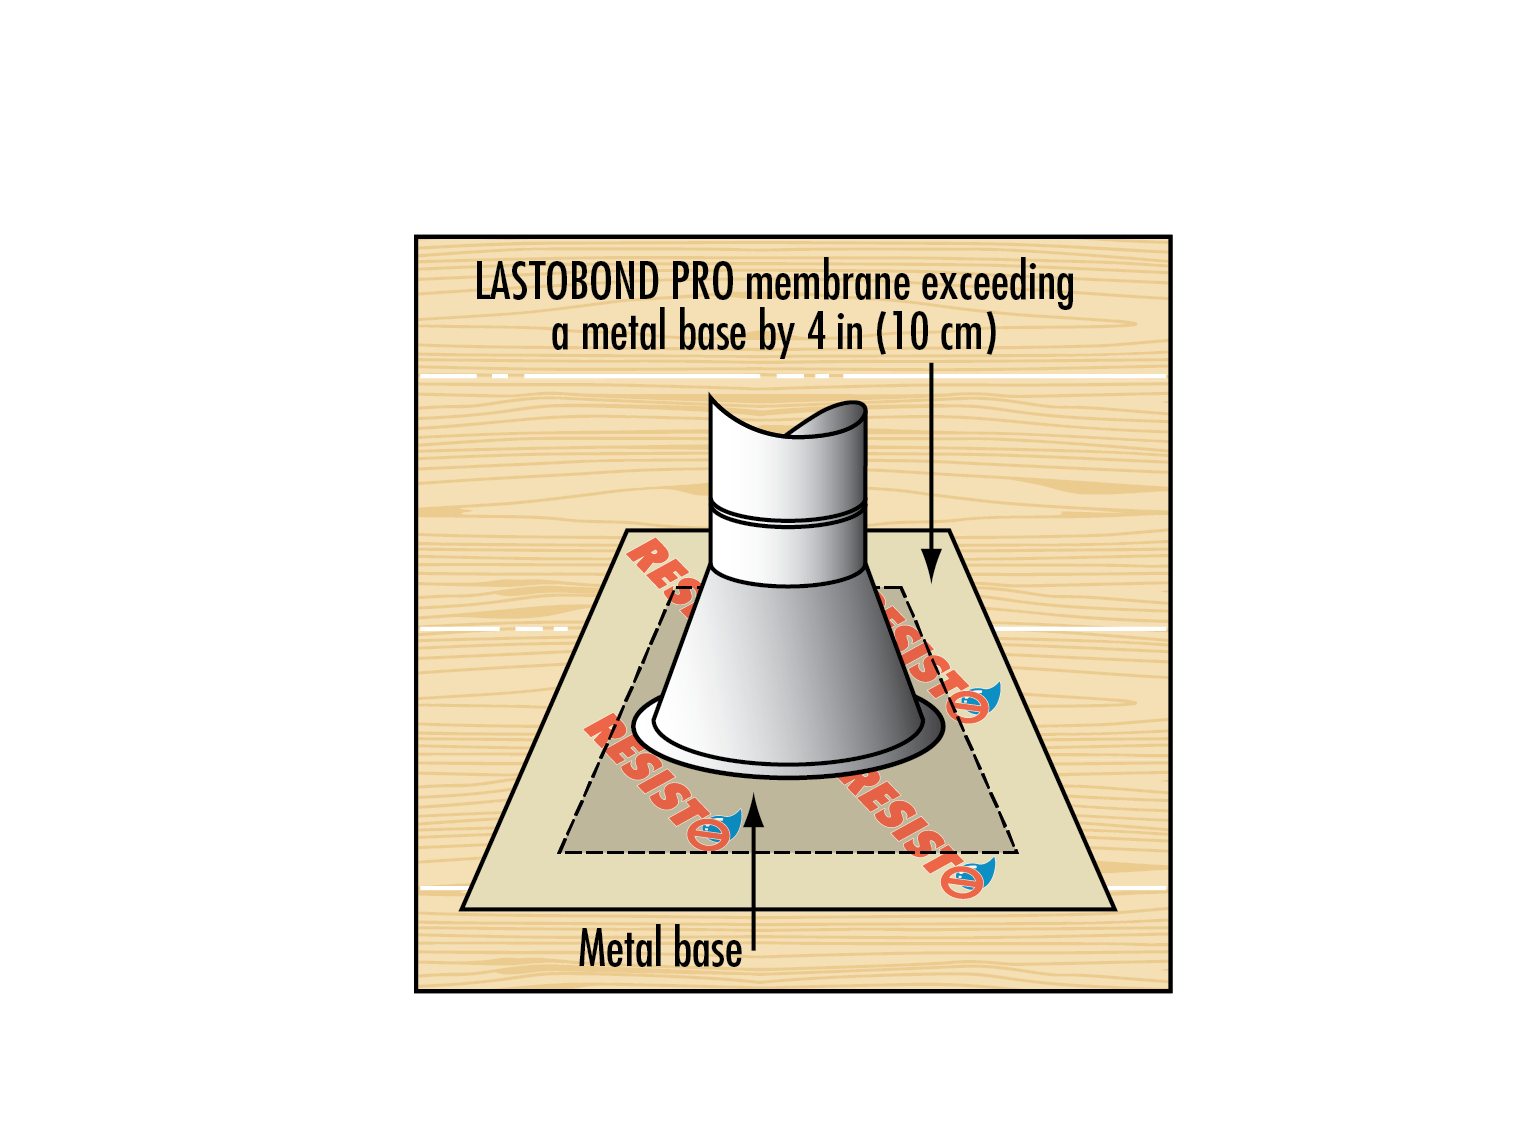
Attach the counterflashing and its metal deck to the roof surface.
Install a ROOF UNDERLAYMENT – HIGH TEMPERATURE LASTOBOND PRO HT-N or PRO HT-S
membrane piece by cutting a circular opening in the middle of it. The membrane must exceed the diameter of the outlet by 2 in (5 cm). For a steel decking, the membrane should exceed 4 in (10 cm).
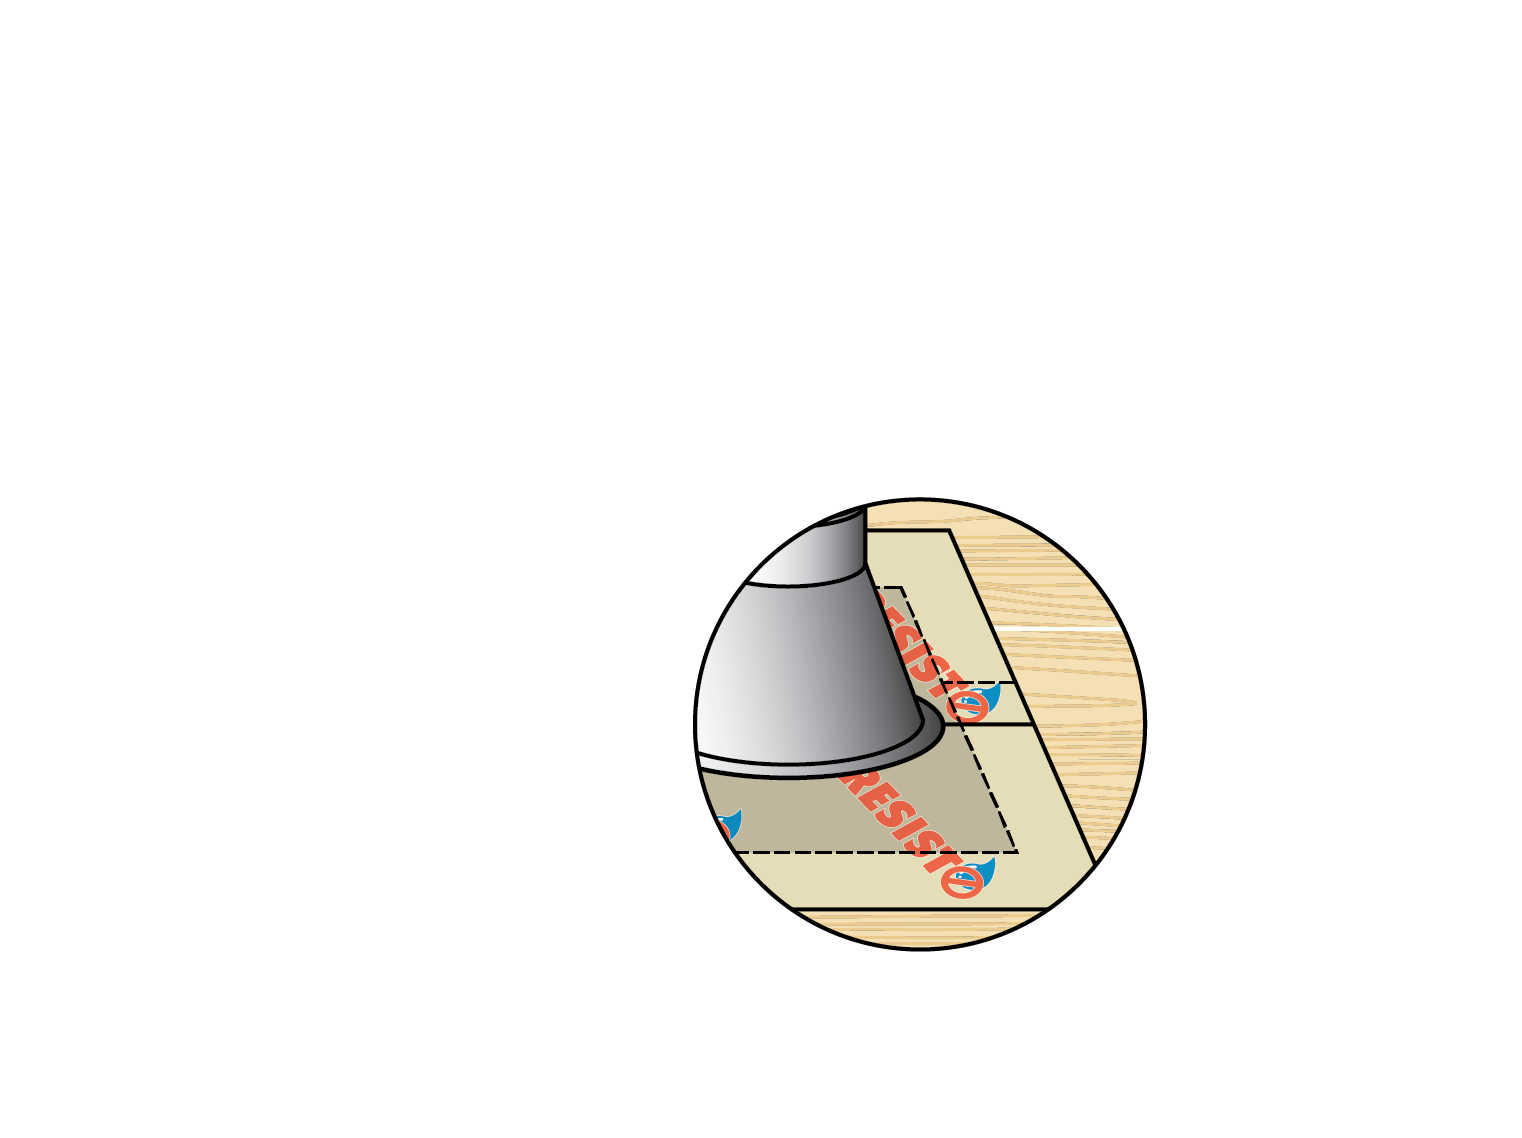
If it is not possible to install the membrane piece this way, proceed using two pieces that will overlap 3 in (8 cm).
This Installation Guide refers to the minimum installation steps required for the RESISTO product mentioned above. Please note that additional steps may be necessary depending on the substrate. However, this procedure is subject to change. RESISTO reserves the right to modify the documents and procedures at any time. Under no circumstances will RESISTO be liable for installation defects. For more information, please contact your representative, RESISTO’s technical support team, or your construction professional.
